

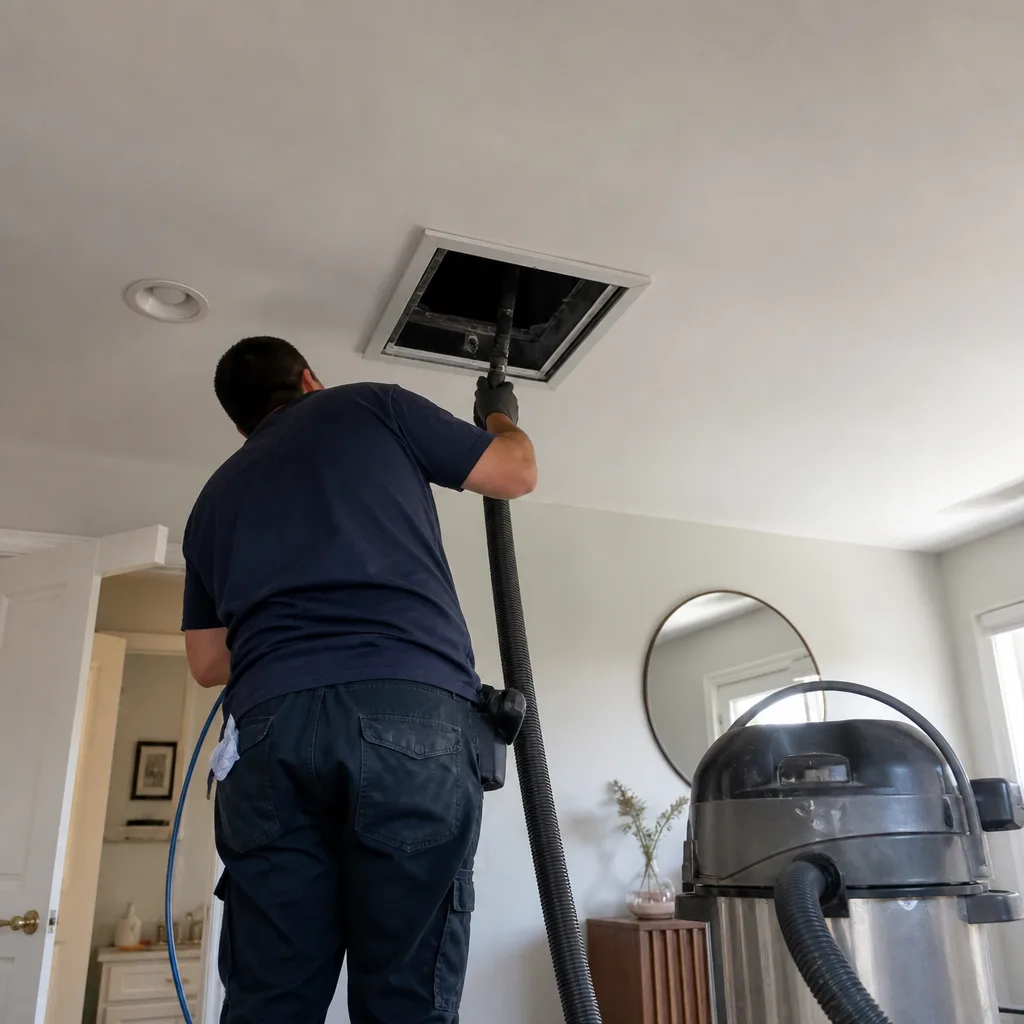
Whole-system duct and dryer vent check with before-and-after photos - you see exactly what came out of your vents
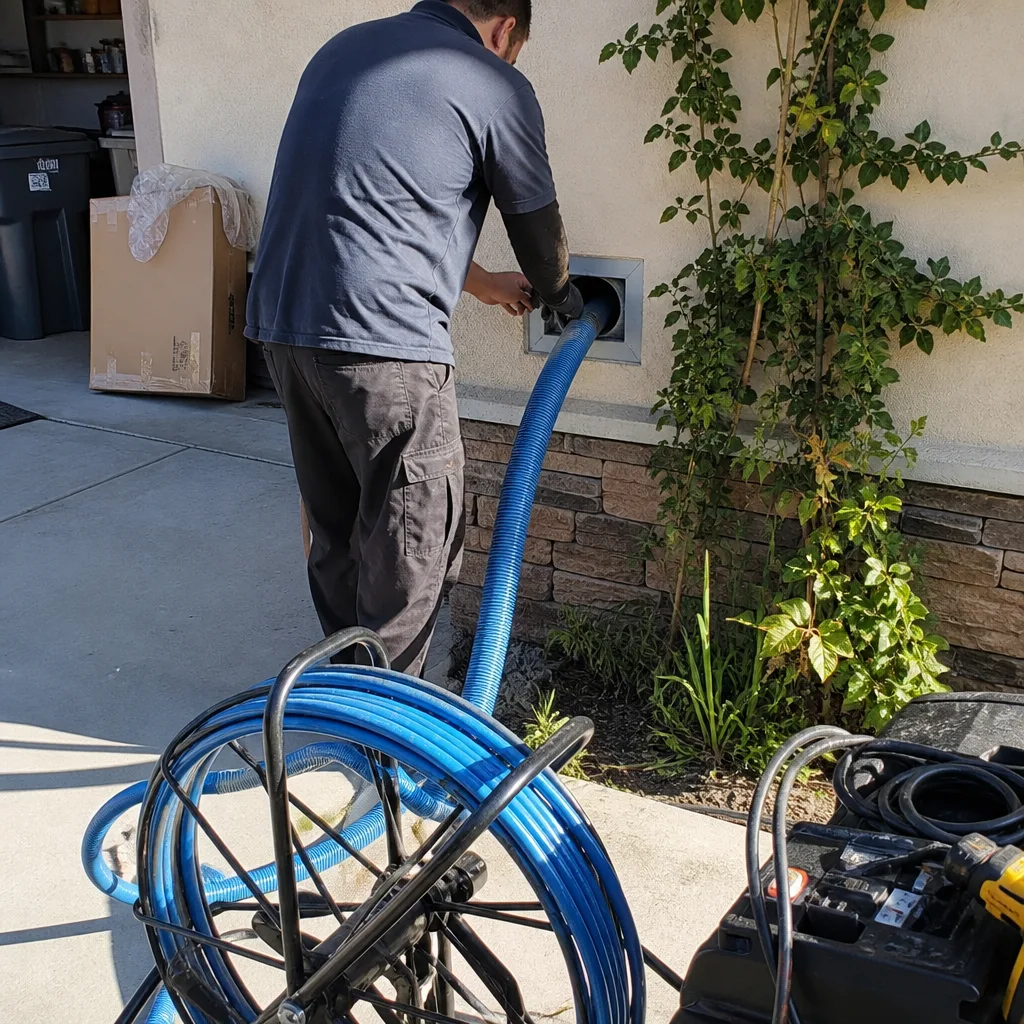
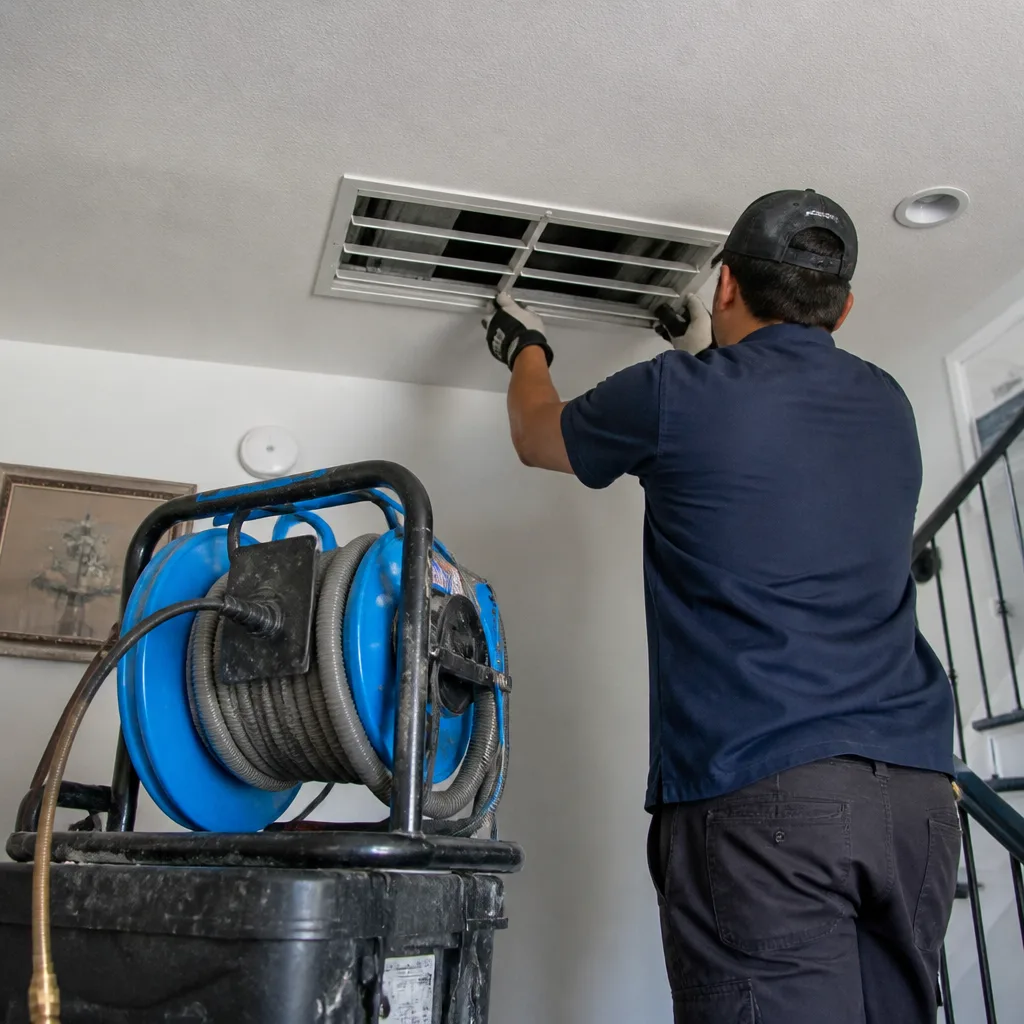
That "$99 whole-house special" is a bait ad - the real number appears once they are in your hallway, or the "clean" is a shop-vac at the register. We photograph the inside of your ducts before and after instead.
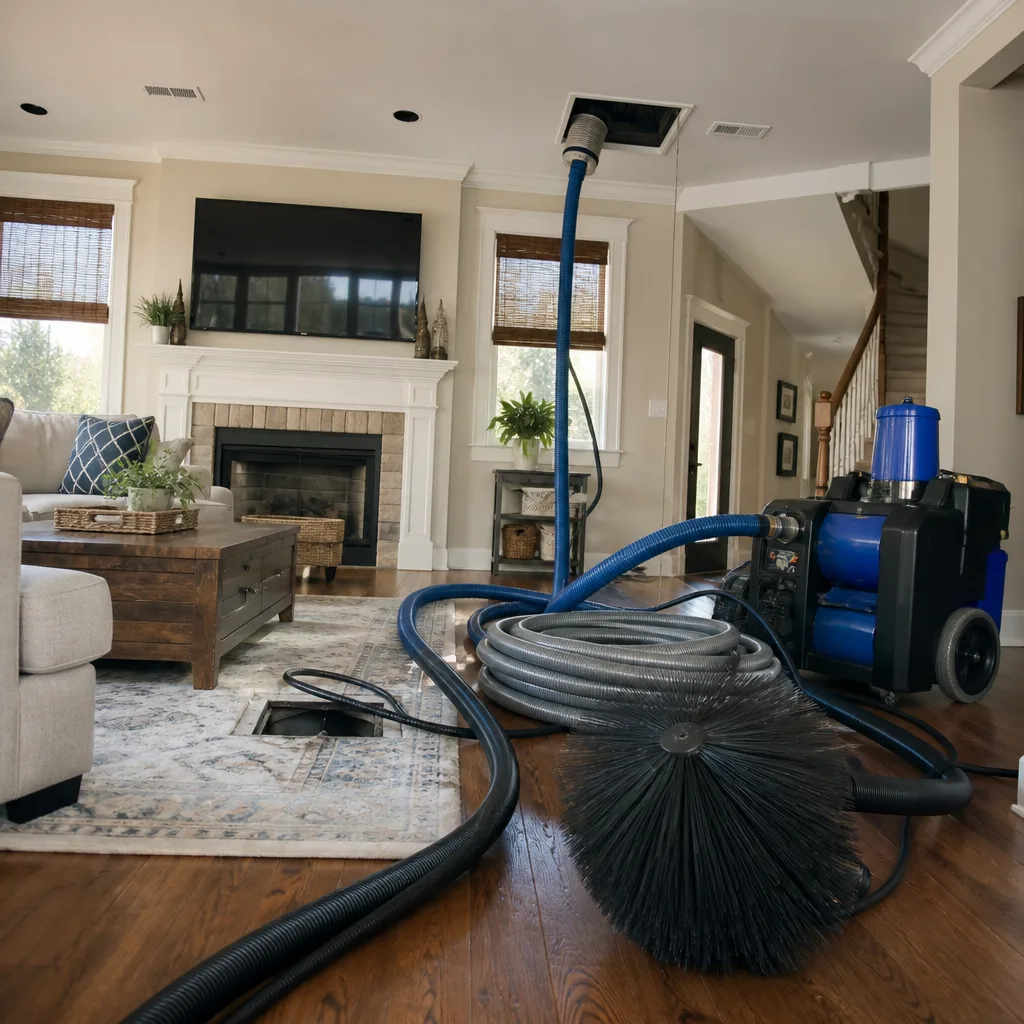
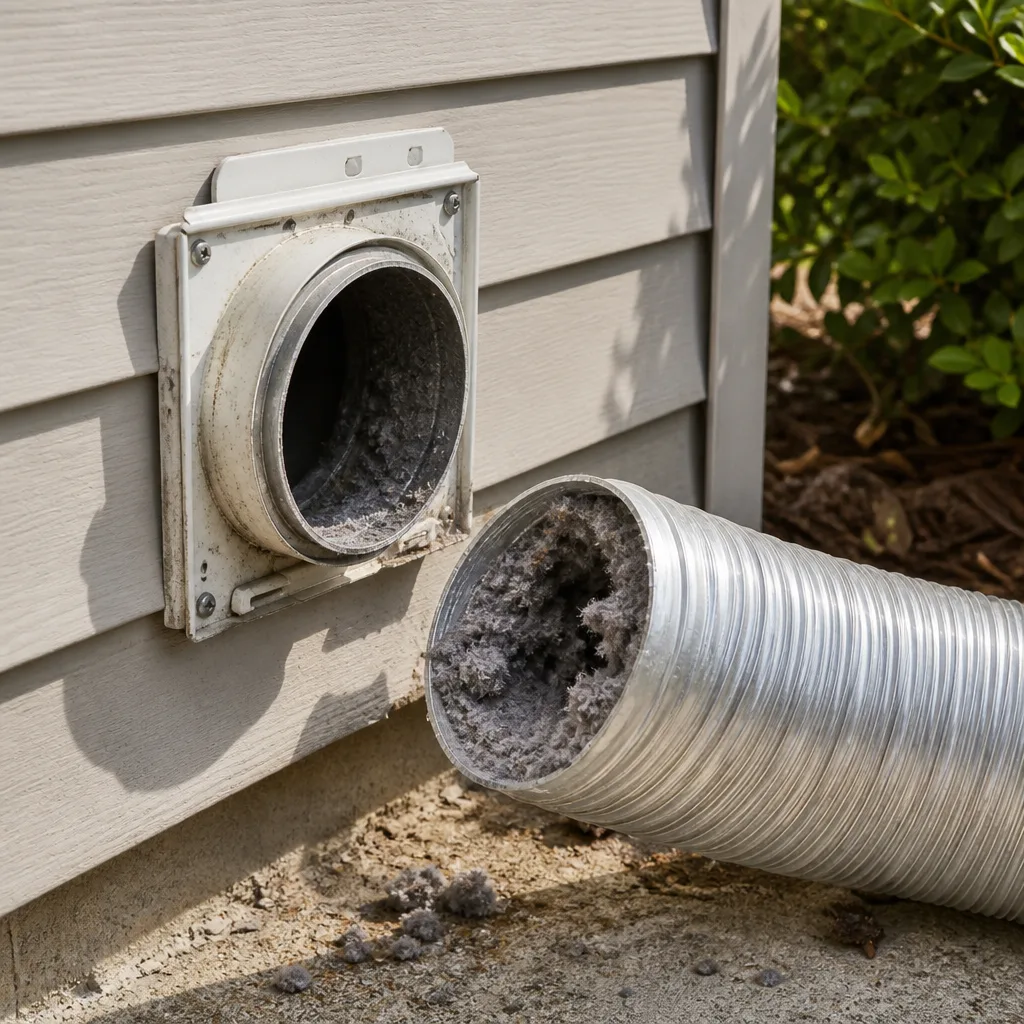

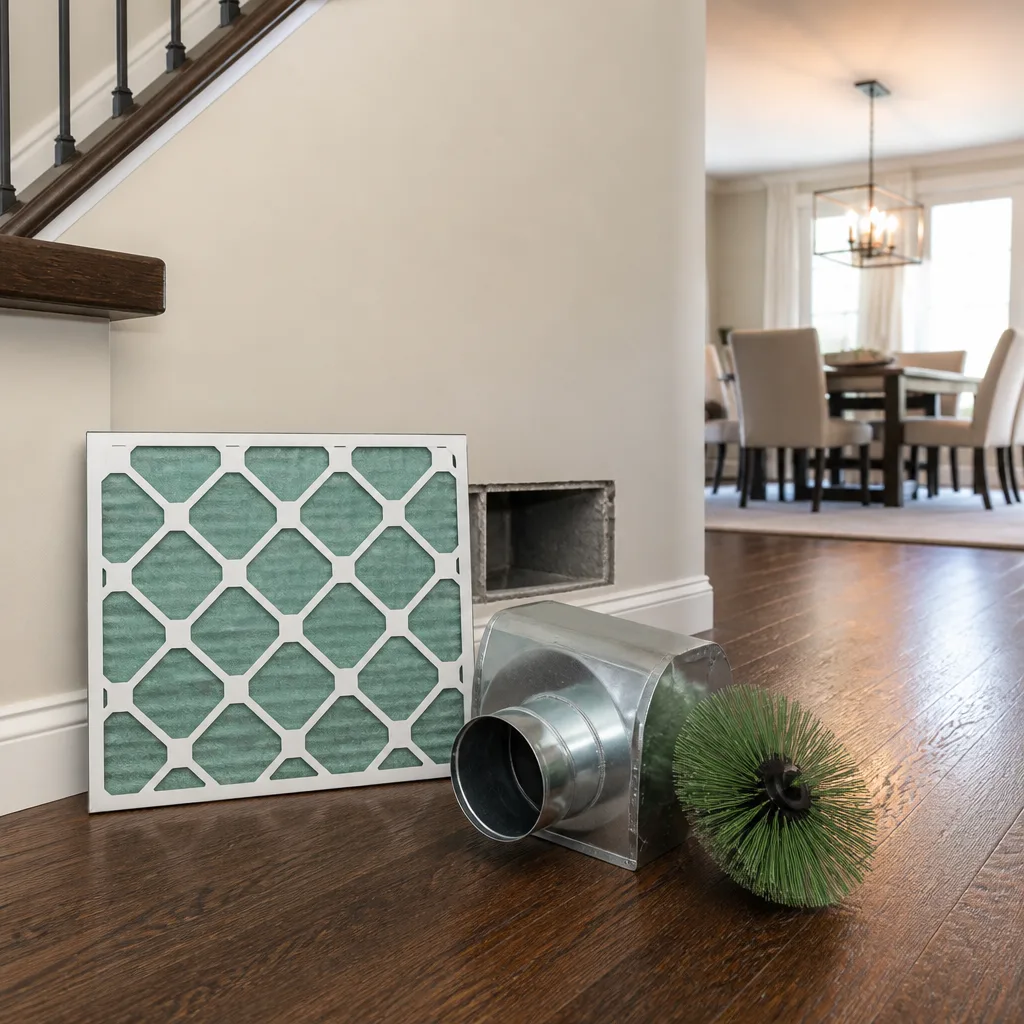
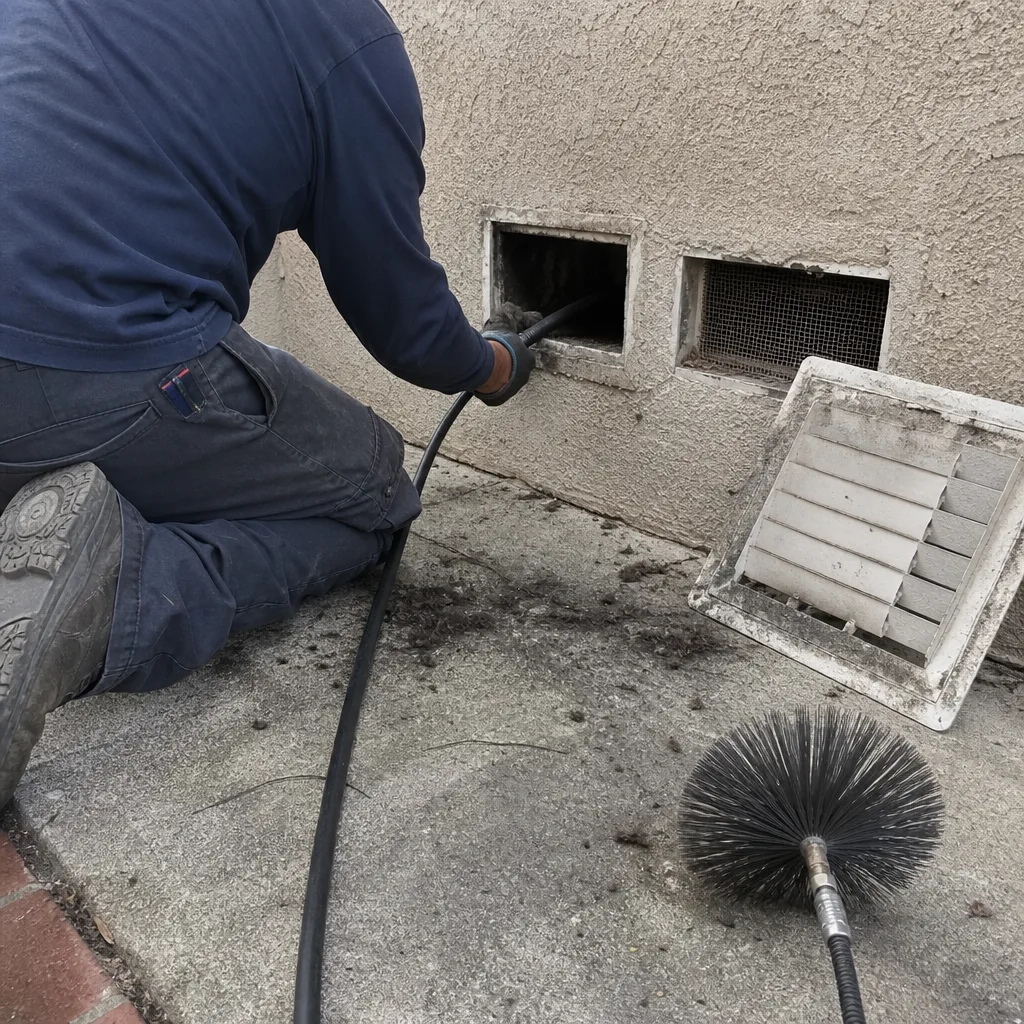 Before
 After
After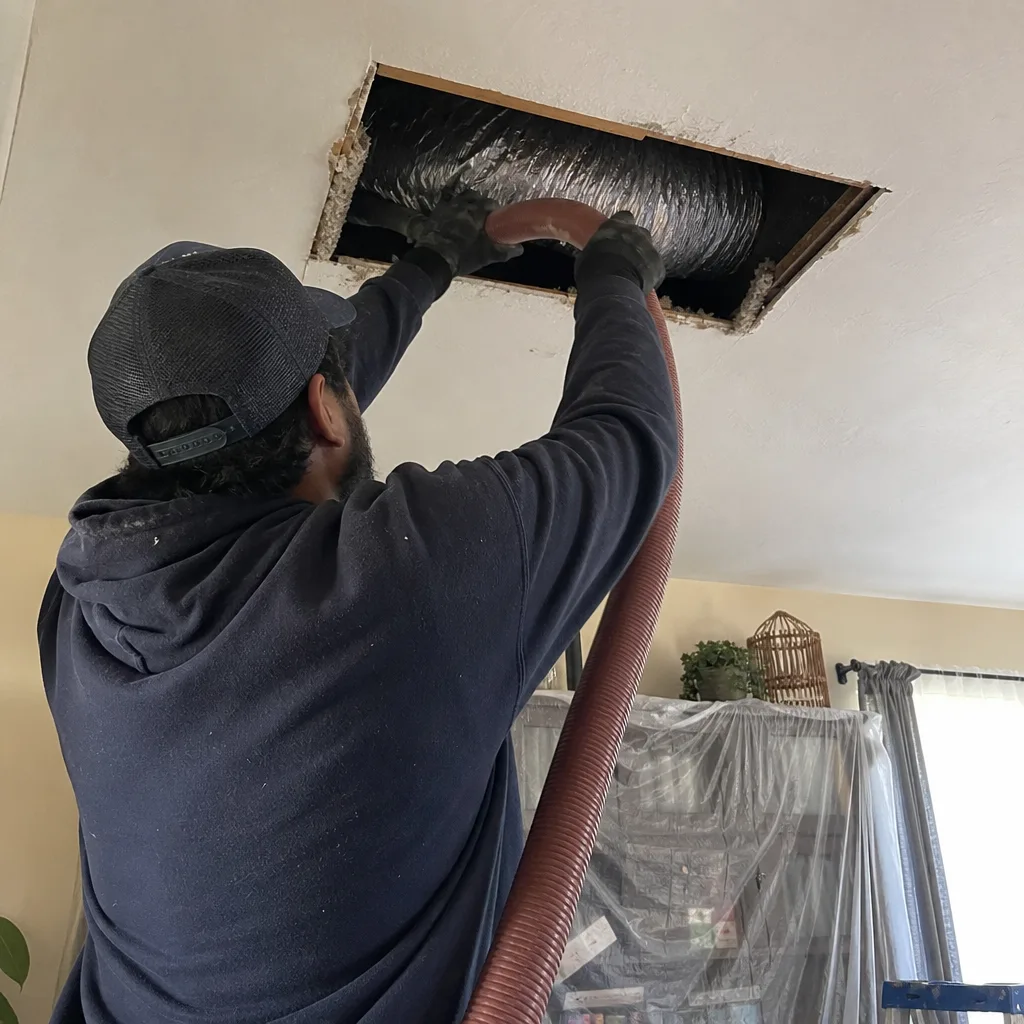 Before
 After
After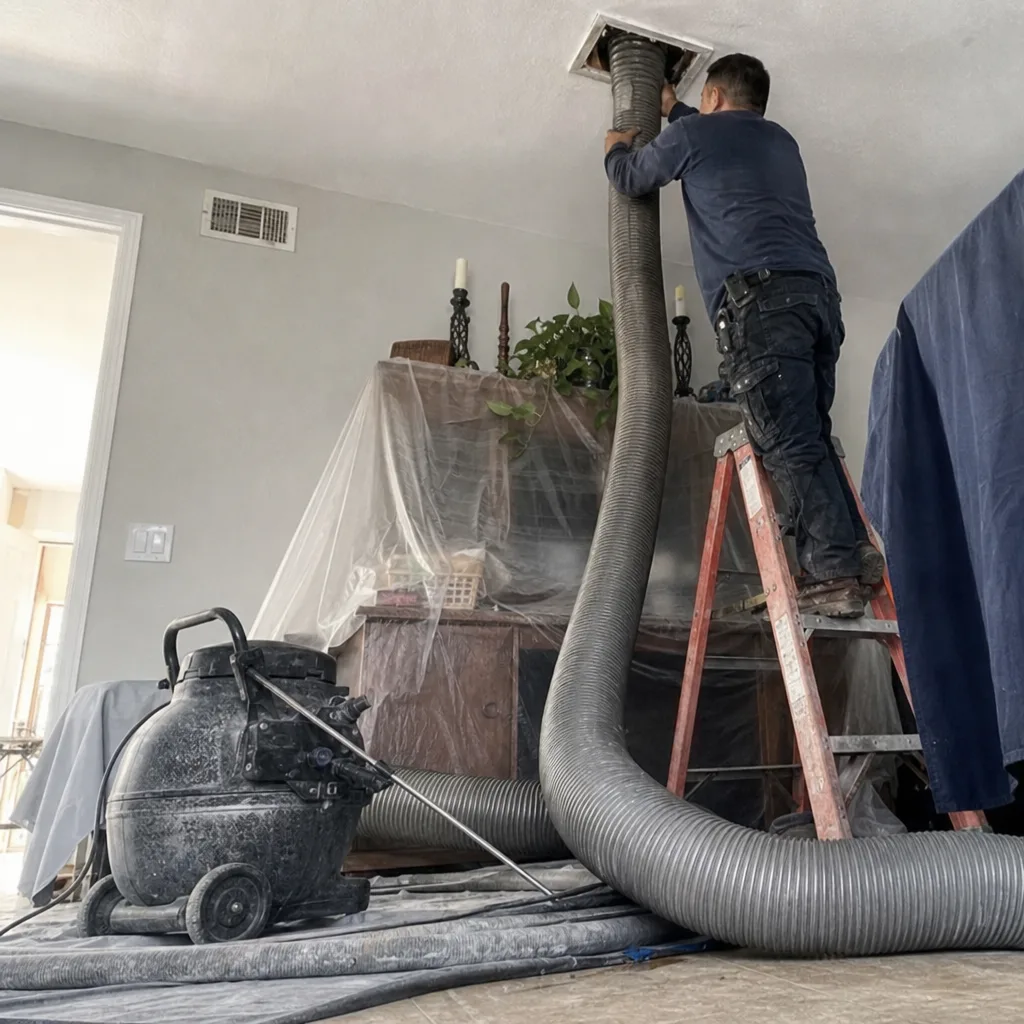 Before
 After
AfterThe dryer shuts off before the load is done
What’s Happening
When a dryer shuts off mid-cycle, the most common cause is a clogged dryer vent. Lint buildup blocks hot air from escaping, the dryer’s thermal fuse or high-limit thermostat trips to prevent a fire, and the machine cuts out to protect itself. A professional dryer vent cleaning almost always resolves it.
Most modern dryers have at least one thermal safety device that monitors exhaust temperature. When airflow is restricted, heat has nowhere to go, so that temperature climbs fast. The thermostat or fuse trips, the drum stops, and you’re left with a machine that looks fine on the outside while the real problem is happening inside the duct behind the wall. The clothes come out damp. The cycle cuts short. And if you restart it and let it run again without fixing the airflow, you’re putting the machine under stress it wasn’t built to handle repeatedly.
Why It Happens
1. Lint buildup in the dryer vent duct (most common)
Every load of laundry sends fine lint particles past the filter and into the vent duct. Over time, that lint compresses into dense deposits – especially at bends in the duct run. You can often suspect this cause when cycles that used to take 45 minutes now take 80, before the shutoffs started. If you hold your hand near the exterior vent cap while the dryer runs and feel little or no airflow, a clogged duct is almost certainly the culprit.
2. A blocked or crushed exterior vent cap
The vent cap on the outside of your home can get clogged with packed lint, blocked by a bird or rodent nest, or physically crushed if something pressed against it. Sometimes the flap sticks shut. If the interior duct is clear but airflow is still poor, walk outside and check the cap while the dryer is running. A flap that doesn’t open fully, or a hood packed with debris, will back up heat just as effectively as an internal clog.
3. A tripped thermal fuse
The thermal fuse is a one-time safety device inside the dryer itself. Once it blows – usually because of heat stress from a restricted vent – it stays open and the dryer won’t run at all, or it will run without heat. If your dryer starts but produces no heat, the fuse has likely already blown. Clearing the vent is still the root fix; a blown fuse is a symptom, not the original cause. Replacing the fuse without cleaning the vent means the new fuse will blow too.
4. A kinked or overly long flexible duct section
Many dryers connect to the wall using a short section of flexible aluminum duct. If the dryer was pushed back against the wall too hard, that flex section can kink almost completely shut. You can usually see this by pulling the dryer away from the wall and inspecting the transition duct. A 90-degree kink looks exactly like a pinched straw. Even without a visible kink, flex duct runs longer than the manufacturer allows create enough resistance to restrict airflow and trigger the same overheating cycle.
What to Do Right Now
- Stop using the dryer until the vent is checked. Running a dryer with restricted airflow isn’t just hard on the machine – lint in an overheated duct is a genuine fire hazard. Set the wet laundry aside and don’t restart the cycle.
- Check the lint screen and clean it fully. Pull the screen, remove all lint, and if you can see light through the mesh when you hold it up, it’s clean. If you can’t, rinse it under water and let it dry before reinserting. A clogged screen alone won’t cause mid-cycle shutoffs, but it tells you how much lint is circulating.
- Go outside and look at the vent cap while someone runs the dryer briefly. Watch whether the flap opens and feel for warm air. No airflow means the duct is restricted. Do this for 30 seconds and then shut the dryer off – don’t let it run a full cycle in this condition.
- Pull the dryer out a few inches and inspect the flex duct transition. Look for obvious kinks, tears, or compression. If you see a severe kink, you can gently straighten it to restore partial airflow, but this is a short-term measure – a kinked flex duct should be replaced, not just unbent.
- Do not attempt to disassemble the dryer cabinet or replace internal components like the thermal fuse yourself unless you are comfortable working with electrical appliances unplugged. The duct cleaning is the job that addresses the root cause. Let a technician handle the interior repair if one is needed.
How We Fix It
When your local Morton’s Air Duct Cleaning team arrives, the technician’s first step is a thorough assessment of the full vent run – from the dryer’s exhaust collar to the exterior cap. Using professional equipment from brands like Rotobrush and Nikro, we clear the duct of accumulated lint, debris, and any biological buildup that’s found its way in. We check the exterior cap for blockage, confirm the flex transition duct is intact, and measure airflow before and after the cleaning so you can see the difference.
Before any work starts, you receive a written price. Not a range, not a verbal quote that changes once we’re inside – a written number, agreed before the first tool comes off the truck. That’s how every Morton’s job works, on every visit.
The job typically takes under two hours for a standard residential vent run. When it’s done, we photograph the work area and leave it cleaner than we found it. The 365-Day Done Right Promise covers the job: if something isn’t right, we come back and make it right.
Frequently Asked Questions
It’s a fire risk and should not wait. The U.S. Fire Administration identifies clogged dryer vents as one of the leading causes of home dryer fires, and a dryer that’s already tripping its thermal safety devices is telling you the heat has nowhere to go. Stop using the dryer until the vent is cleared. Call (323) 918-4345 to get your local Morton’s team scheduled.
In the large majority of cases, clearing the vent resolves the shutoff entirely because the root cause was restricted airflow, not a failed dryer component. If the thermal fuse has already blown, the dryer will need that part replaced by an appliance repair technician – but clearing the vent has to happen first, or a new fuse will fail for the same reason. Our technician will let you know what we found during the cleaning so you have the full picture.
Call (323) 918-4345 and a live person will answer – not a voicemail, not a chatbot. Your local Morton’s team will tell you exactly what’s available in your area and get you on the schedule as quickly as possible. We understand this isn’t a problem you want to leave sitting.
For a household running several loads per week, an annual dryer vent cleaning is a reasonable baseline. Households with larger families, pets that shed heavily, or duct runs with multiple bends may need cleaning more often. The technician can give you a specific recommendation based on what they find in your duct on this visit.
Get It Fixed
Call (323) 918-4345 – a real person picks up, day or night. Or book online and your local Morton’s Air Duct Cleaning team will take it from there: written price first, vent cleaned right, and your home left exactly as we found it.
Written by Paul Adeyemi, Owner at Morton’s Air Duct Cleaning, serving communities nationwide as part of the Cedarwell family since 2005.
What Our Customers Say
"New house, old dusty ducts. They were gentle in the house, laid down drop cloths, and double checked every register was sealed back up. Air smells fresh now."
- Scott Hemmings"Friendly, calm crew that clearly cared about the house. Covered their shoes, protected the floors, and double checked they'd closed up every vent cover properly. Would have them back."
- Omar Zaid"Ducts and dryer vent both. They put runners down the whole hall and wore booties. Spotless after, and they showed me photos of what came out. Worth every penny."
- Bonnie Vo