
5 Mistakes to Avoid With Dryer Vent Cleaning
Blowing compressed air backward through a dryer vent feels productive. What it actually does is compact lint deeper into bends you can’t see, and that’s where dryer fires start. Most dryer vent cleaning mistakes share one root cause: treating the vent like a simple tube instead of a system with airflow, connections, and fire-safe materials. If you’d rather not deal with any of this yourself, call (323) 918-4345 for a free estimate in Los Angeles.
We’ve cleaned thousands of dryer vents across homes from Silver Lake to Woodland Hills since 2005. The same five mistakes show up again and again, done by smart homeowners who are simply working with incomplete information. Here’s what actually happens when dryer vent cleaning goes wrong, and what to do instead.
Mistake #1: Cleaning From the Exterior Cap Instead of the Dryer Connection
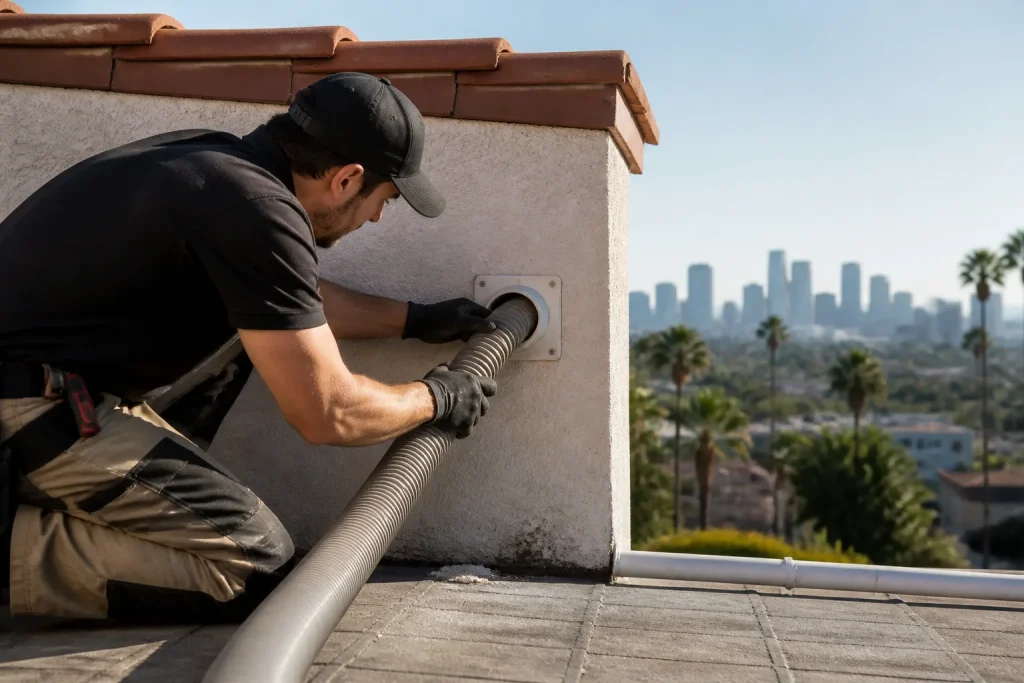
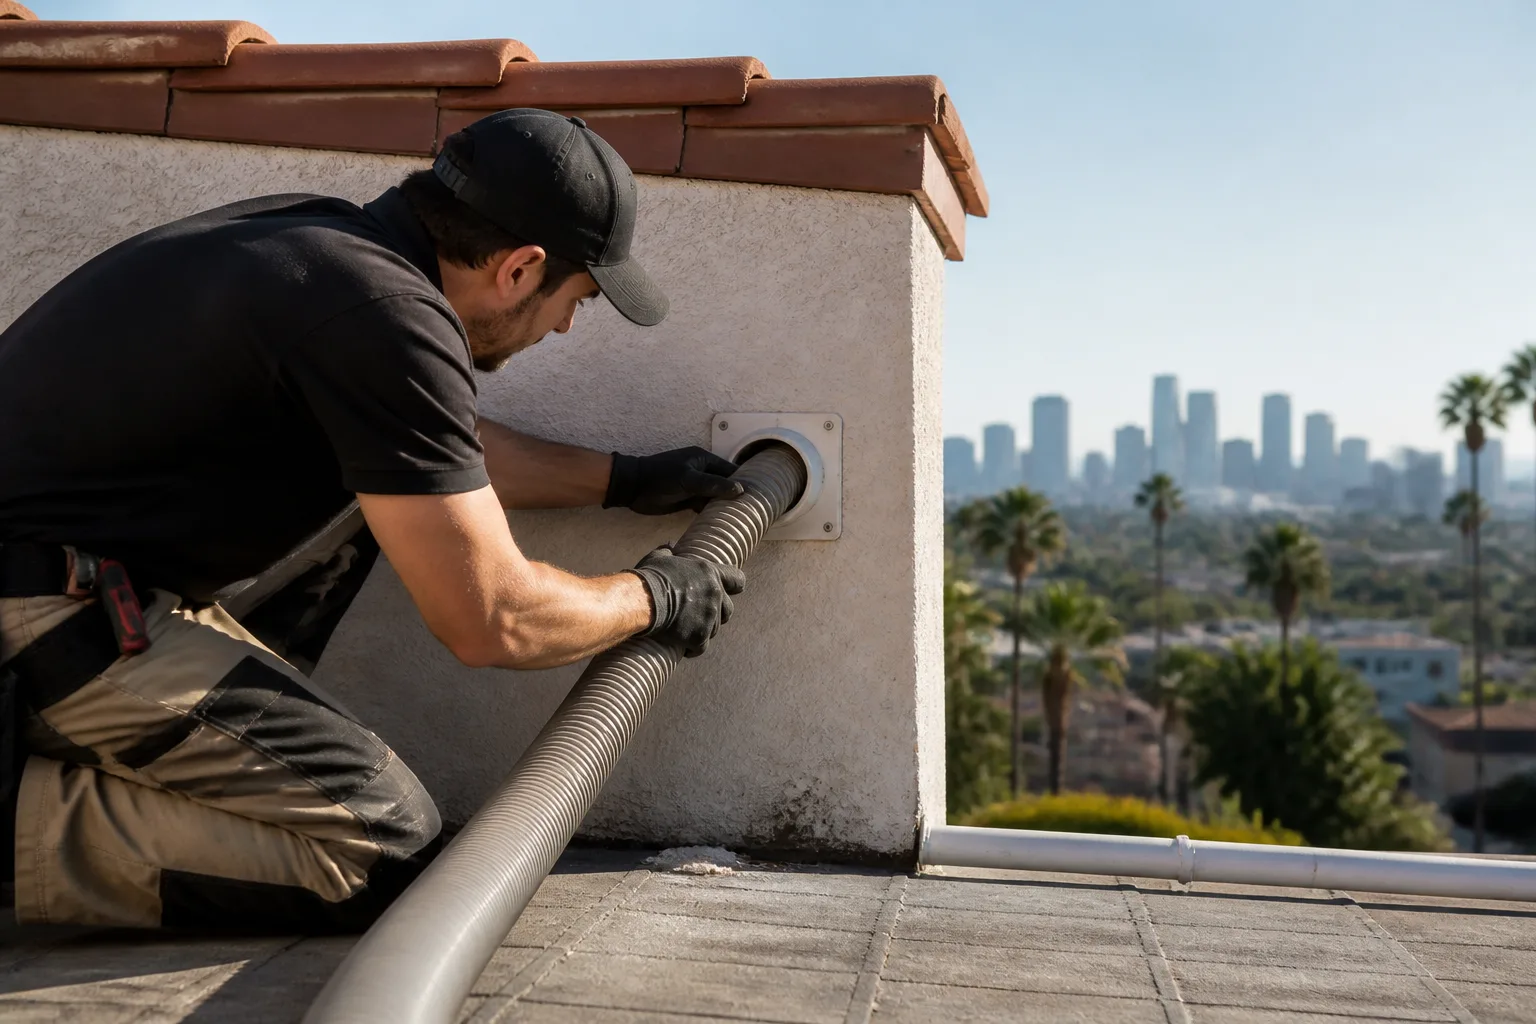
Standing outside with a leaf blower pointed at the vent cap feels like the obvious approach. You see lint fly out, so it must be working. The problem is that most Los Angeles homes don’t have a straight vent run. Vents bend around wall studs, jog up through attic spaces, and make 90-degree turns behind drywall. When you blow air backward from the outside, you’re pushing lint into those bends, not out of them. The loose debris you see exiting was already near the cap. The compacted lint packed in the elbows stays exactly where it is, and now it’s been pushed tighter.
The correct direction is always from the dryer connection point outward toward the exterior cap. That’s where the airflow originates, and it’s the only direction that actually evacuates debris. You also need a brush that rotates, not just air pressure. Lint in a vent that’s been baking in Los Angeles heat for two or three years bonds to the duct walls. Air alone won’t remove it. A rotating brush from a brand like Rotobrush breaks that bond and carries it out with vacuum suction.
In our experience, homes in neighborhoods like Van Nuys and North Hollywood, where the housing stock is older, often have vent runs that were installed decades ago with more bends than current code allows. Cleaning those correctly requires accessing both ends, not picking whichever one is easier to reach.
Mistake #2: Reconnecting the Foil-Flex Transition Hose Instead of Replacing It
That silver accordion hose behind your dryer is called a transition duct, and it’s the single most common fire hazard in a laundry setup. Foil-flex hose is thin, rips easily, and traps lint in its ridges. Legitimate building standards don’t allow it as a transition duct material. When a homeowner or a low-bid cleaning crew pulls the dryer out, cleans the vent, and then reattaches that same wrinkled foil hose, they’ve left the system more dangerous than they found it.
The correct material is UL-listed rigid metal or semi-rigid metal duct. Rigid metal is a solid, smooth pipe. Semi-rigid is aluminum that holds its shape but flexes for positioning. Both resist lint trapping, both resist crushing, and both are what our technicians carry on every truck in Los Angeles. If we find foil-flex during a cleaning, we replace it with UL-listed semi-rigid metal as standard practice. Not as an upsell, as a correction. It’s a few dollars of material that eliminates a real ignition point.
This matters more in Los Angeles than most people realize. Gas dryers are common here, and a gas dryer produces combustion heat that stays in the vent system. A ripped transition duct near a gas appliance is not a small problem. It’s a heat source next to a fuel source, inside your wall. When you clean a vent, the transition hose is part of the job. If it’s foil, it goes.
Mistake #3: Replacing the Dryer Without Cleaning the Vent
New dryers are efficient. They also fail faster when connected to a vent packed with lint from the previous machine’s last five years of use. Every dryer pushes a small amount of lint through the system even when the lint trap is cleaned properly. Over time, that accumulation coats the interior of the duct. When you replace the dryer but leave the duct untouched, you’re pairing a fresh appliance with a restricted airway. Drying times stay long, energy use stays high, and your new dryer works harder than it should from day one.
We’ve pulled lint out of wall vents in Los Angeles homes where three generations of dryers had been connected to the same original duct. In one house in Atwater Village, the vent was so packed that the homeowner’s new dryer kept tripping its thermal cutoff on the first day. The vent wasn’t cleaned at install because the installer didn’t offer it, and the homeowner reasonably assumed a new machine meant a clean system.
If you’re replacing a dryer, schedule a vent cleaning the same week. Ideally the same day, before the new unit goes in. The duct is the part of the system that doesn’t get swapped for new, and it’s the part most likely to be ignored.
Mistake #4: Skipping the Airflow Test After Cleaning
A vent looks clean doesn’t mean it moves air. After any cleaning, the system should be verified with an actual airflow measurement, not a visual check. If the airflow is still low after cleaning, there’s a restriction somewhere you haven’t addressed. Could be a collapsed section of duct, a disconnection inside the wall, a bird nest near the cap, or a kinked transition hose.
Professionals use a manometer to measure static pressure inside the vent. That tells us, in numbers, whether the airflow matches what a properly functioning vent should deliver. For a quick homeowner check, a simple test works too: hold a single dollar bill at the exterior vent cap while the dryer runs. A healthy airflow should hold the bill horizontal. If it barely flutters, you have a restriction, even if the vent looks clean from both ends.
We include airflow testing as part of every dryer vent cleaning we do in Los Angeles, because without it we can’t honestly tell you the job is done. “Lint removed” and “system functioning” are two different things. The test takes about a minute, and it’s the difference between pretending a vent is clean and knowing it is.
Mistake #5: Waiting Until Clothes Take Two Cycles to Dry
If a load of towels now takes twice as long as it did a year ago, the vent has been blocked for months. The dryer has been overheating, the motor has been working against backpressure, and the heating element has been cycling at higher temperatures than it was built for. The two-cycle threshold is not the early warning sign. It’s the late warning sign.
A better rule: if it takes more than 45 minutes to dry a normal load of clothes, something’s off, and the vent is the first place to check. In Los Angeles, where homes often run dryers in enclosed laundry nooks without much airflow, that heat doesn’t dissipate quickly. The machine sits and bakes. The vent bakes too. Lint that would otherwise be loose gets baked into a crust that’s harder to remove and more flammable by the month.
The National Fire Protection Association says dryers and washing machines cause thousands of structure fires every year across the country, and the leading cause is failure to clean the vent. Most of those fires didn’t happen in homes with spotless vents in sudden accidents. They happened in homes where the vent had been quietly filling for years while drying times climbed. The appliance told everyone something was wrong. The laundry just got done anyway, until it didn’t.
Annual vent cleaning is a reasonable baseline for a household that runs the dryer multiple times a week. If you have pets, long duct runs, or a gas dryer, you might need it more often. If you’ve moved into a new home and have no record of when the vent was last cleaned, assume it wasn’t.
How to Avoid All Five Mistakes at Once
The simplest approach is this: clean from the interior connection, replace any foil transition hose with UL-listed rigid or semi-rigid metal, verify airflow with a pressure reading or a dollar bill test, and put it on the calendar yearly instead of waiting for symptoms. That single routine, done correctly, covers everything above and removes the conditions that lead to dryer fires in Los Angeles.
- Clean from the dryer out, never the cap in. Direction determines whether lint leaves the system or gets packed deeper.
- Use rigid or semi-rigid metal transition duct. Foil-flex is a hazard, not a cost-saver.
- Clean whenever the dryer changes, not just when it breaks. New appliance, old vent, same problem.
- Test airflow after every clean. Your eyes can’t measure static pressure. A dollar bill gets you close.
- Schedule yearly, not “when I notice.” Dryers are bad at announcing the early stages of a blockage.
If you’re in Los Angeles and want the whole thing handled by someone else, Morton’s Air Duct Cleaning in Los Angeles handles dryer vents with professional equipment from Rotobrush and Nikro, a written price before we start, and shoe covers and drop cloths in every home. Paul and the team here have been doing this since 2005. There’s a real person answering the phone when you call.
Related service: Many Los Angeles homes need both dryer vent and full system cleaning done together. Learn more about our air duct cleaning in Los Angeles and how it keeps the whole house breathing easier.
The Bottom Line
Dryer vent cleaning fails when it’s approached as a quick once-over instead of a system reset. The vent is just a tunnel. The lint inside it is fuel. The heat from your dryer is the ignition source. Every one of these five mistakes leaves those three elements closer to each other instead of farther apart.
If you’re in Los Angeles and want the work done right, Morton’s Air Duct Cleaning offers free estimates. Call (323) 918-4345 or find more about our approach on the Morton’s Air Duct Cleaning home page. We’ll tell you exactly what we’ll do, what it will cost, and we’ll show you a photo of the cleaned vent before we leave.
Frequently Asked Questions
Dryer vent cleaning in Los Angeles typically costs between $129 and $350 for a standard single-family home, depending on the length of the vent run, the number of bends, and whether the roof or exterior access is difficult. Whole-system duct cleaning runs higher. Morton’s Air Duct Cleaning provides a written price before any work starts, so you’ll know the exact number before anyone touches your dryer. Call (323) 918-4345 for a free estimate.
Clothes taking longer than 45 minutes to dry, a dryer exterior that feels hot to the touch, a burning smell during a cycle, and a weak flap movement at the exterior cap are all signs of blockage. Take the dollar bill test: hold a bill at the vent cap while the dryer runs. If it doesn’t flutter, your vent is restricted and should be cleaned before your next load.
You can remove visible lint from the lint trap and exterior cap, but a proper cleaning requires rotating brush equipment that reaches the full length of the duct. Most homeowners don’t own that equipment, and leaf blowers push lint deeper into bends. For a one-off annual clean, professional equipment and a trained eye are worth the cost, especially in Los Angeles where gas dryers add combustion to the equation.
Once a year is the right schedule for most Los Angeles households. If you have multiple kids and run the dryer daily, or if your vent run is more than 10 feet with multiple turns, every six to nine months is safer. Gas dryer users should lean toward the shorter side. If you’ve just moved in and don’t know the history, clean it once now and start the clock from there.
Written by Paul Adeyemi, Owner at Morton’s Air Duct Cleaning, serving Los Angeles since 2005.
Need Air Duct Cleaning Help?
Call Morton's Air Duct Cleaning - licensed & insured, here with fast after-hours help in Los Angeles.
(323) 918-4345