
Last updated October 8, 2026
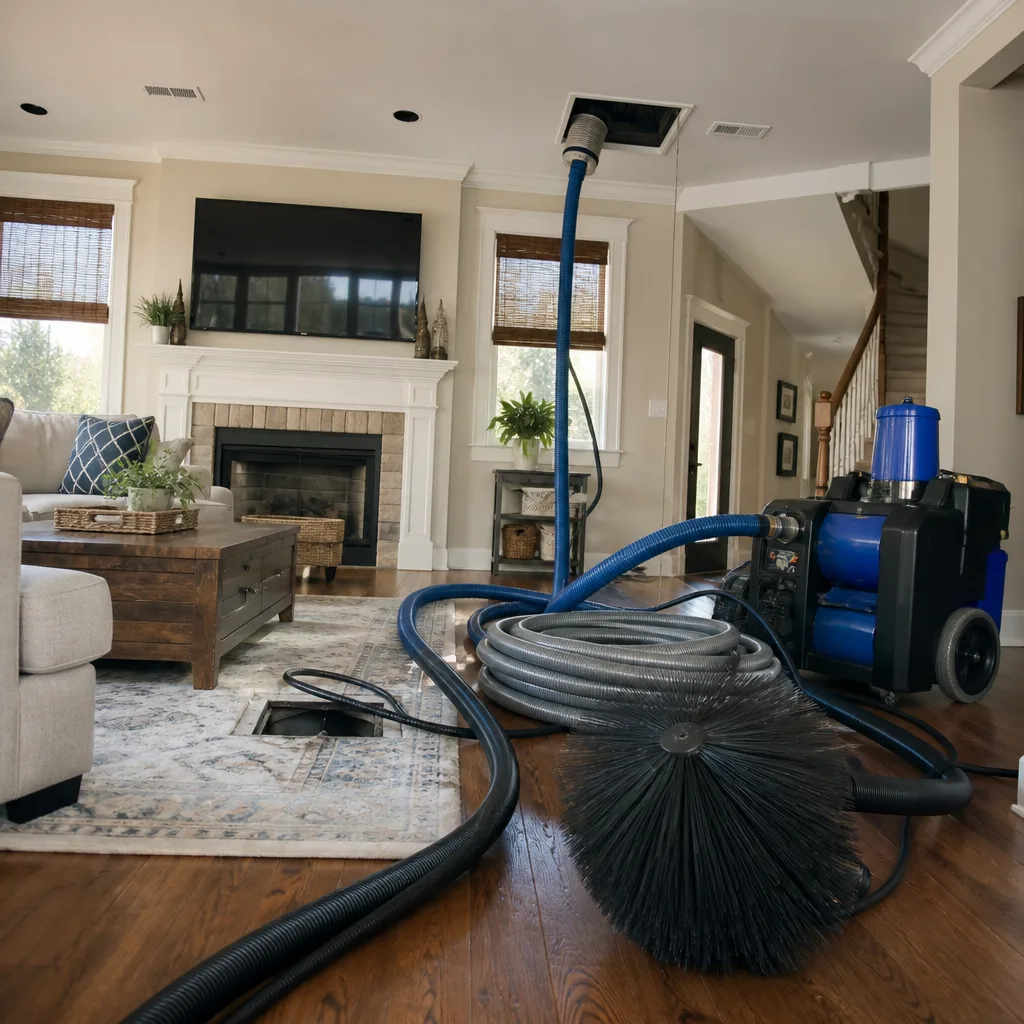
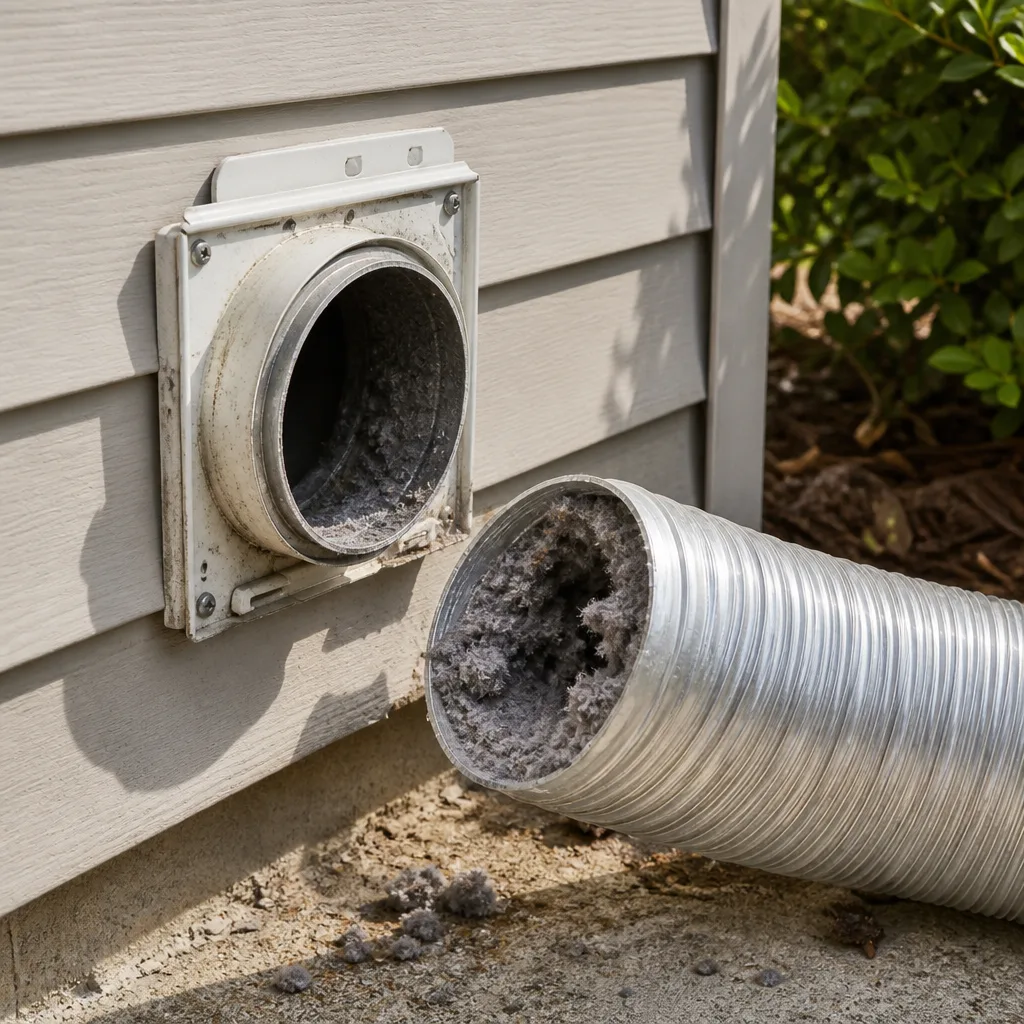
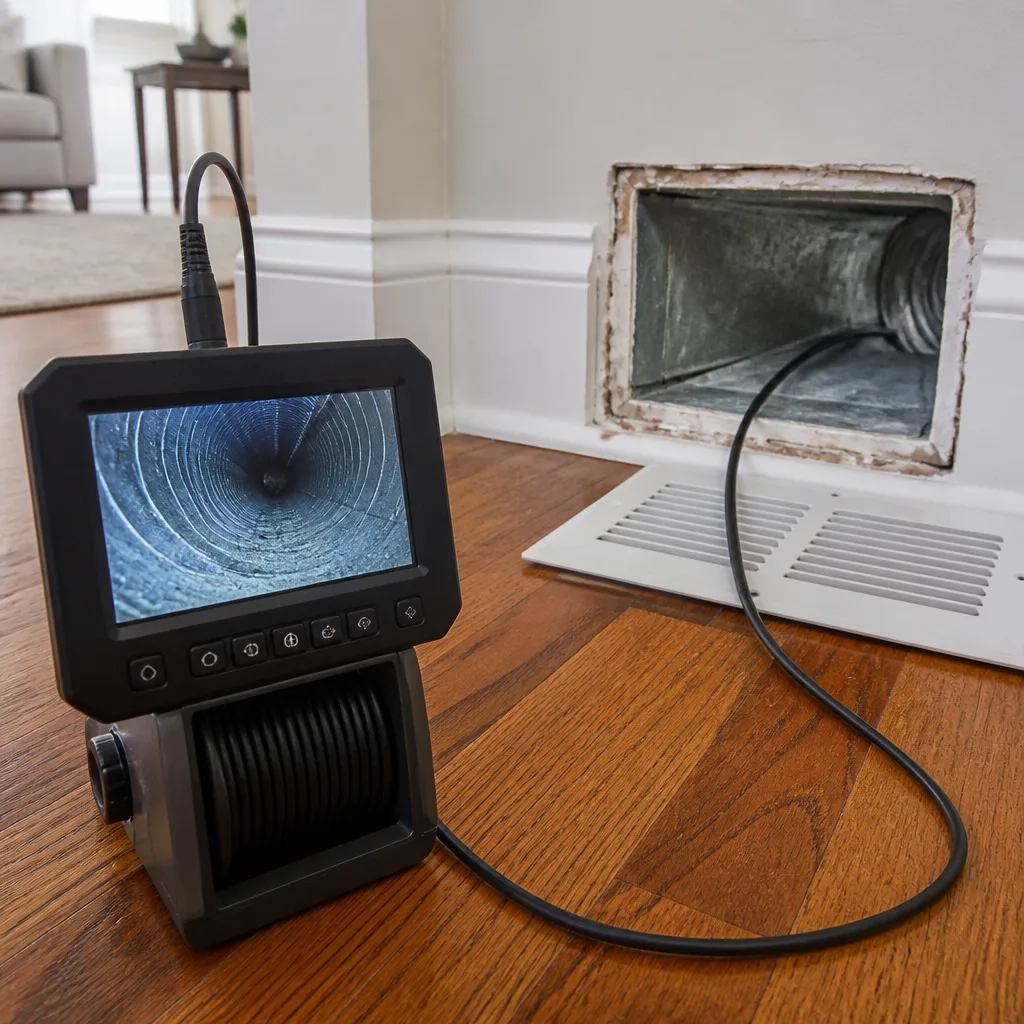
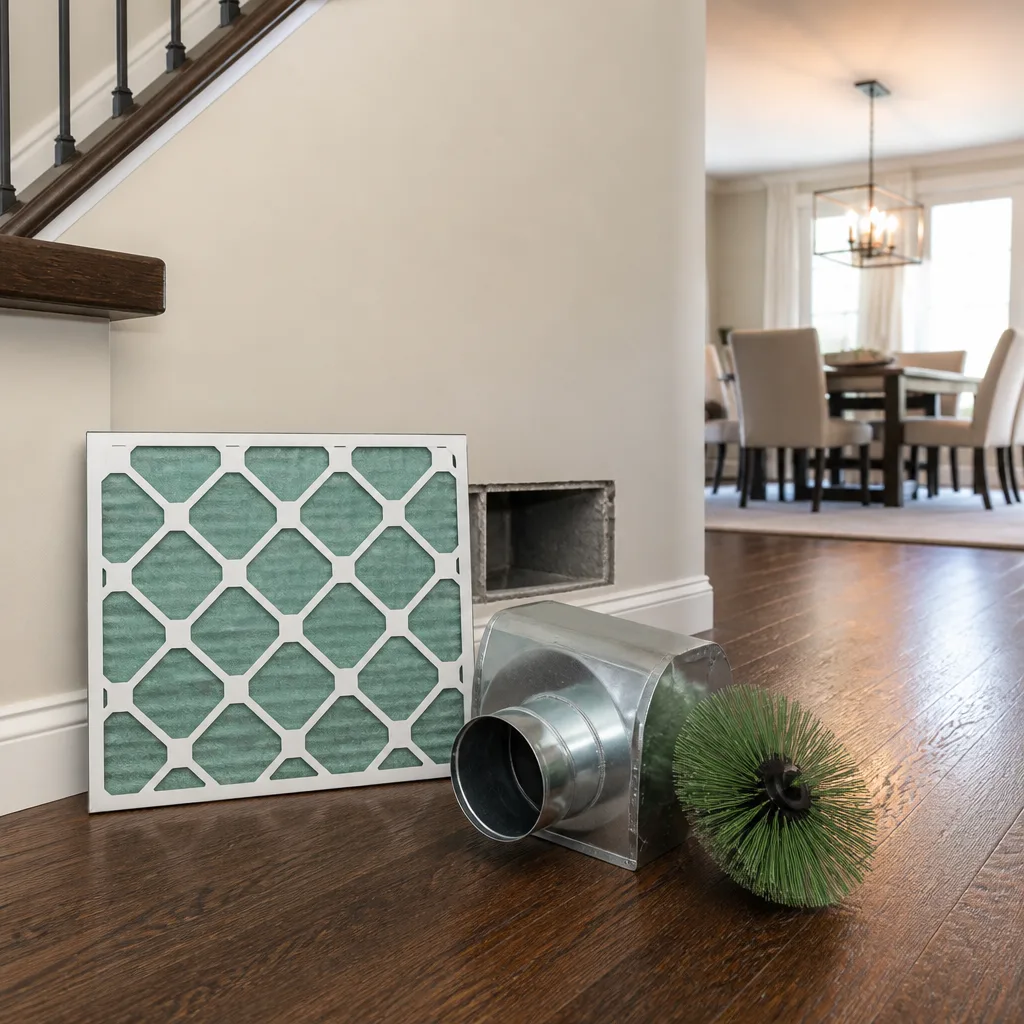
Whole-system duct and dryer vent check with before-and-after photos - you see exactly what came out of your vents
That "$99 whole-house special" is a bait ad - the real number appears once they are in your hallway, or the "clean" is a shop-vac at the register. We photograph the inside of your ducts before and after instead.
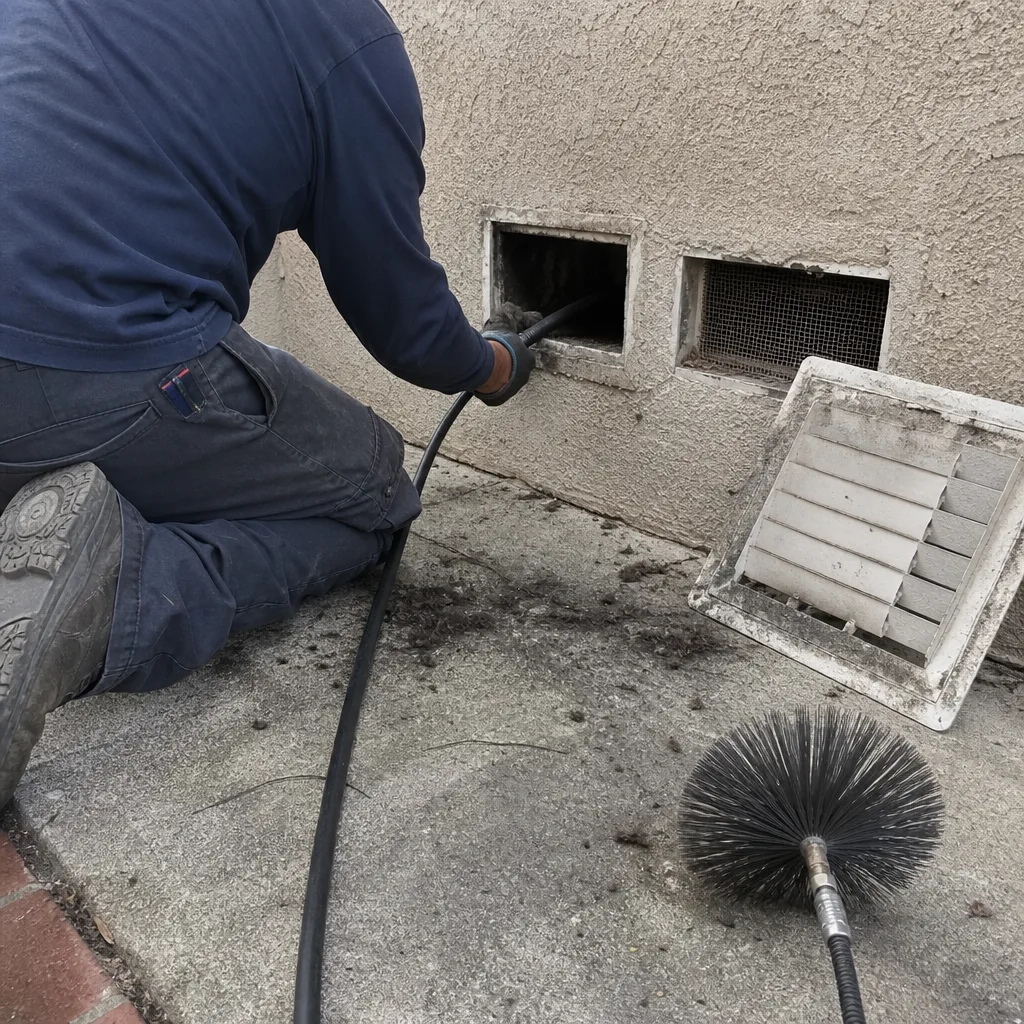 Before
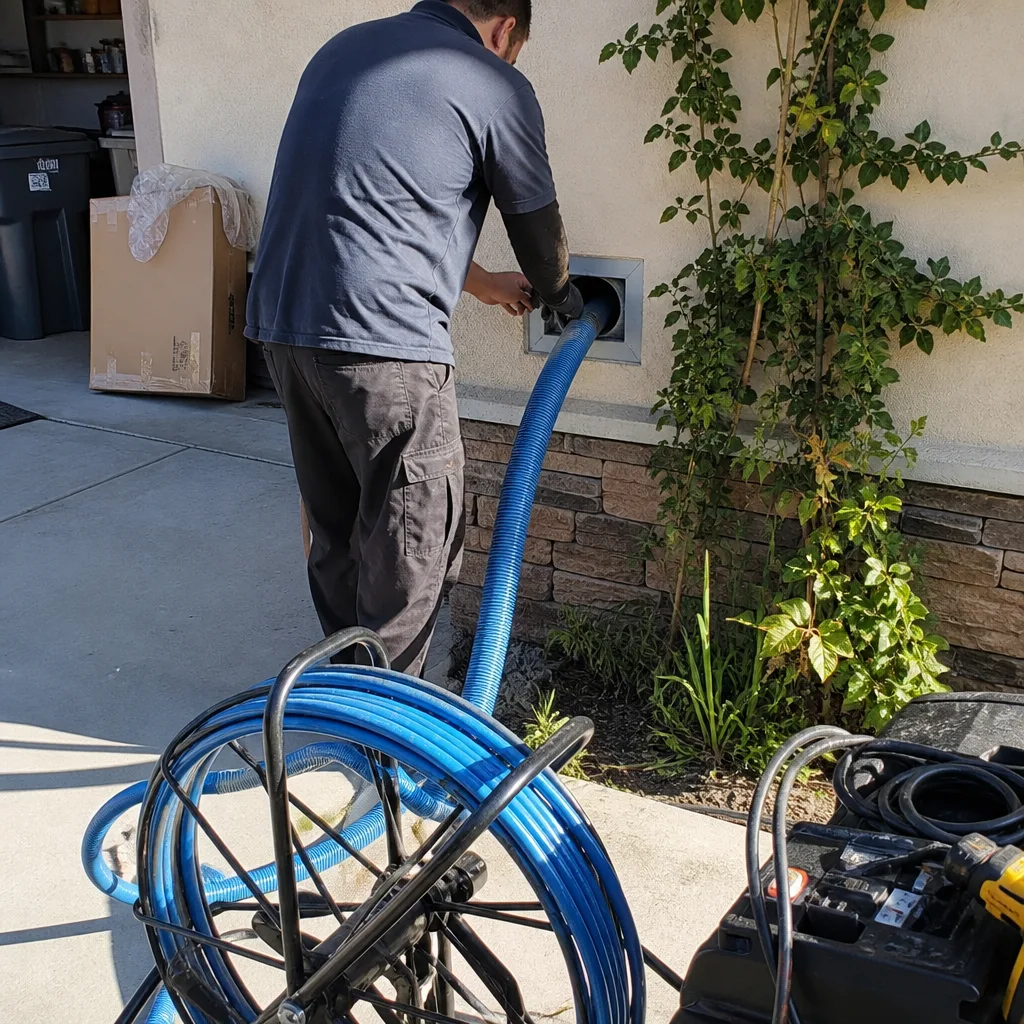 After
After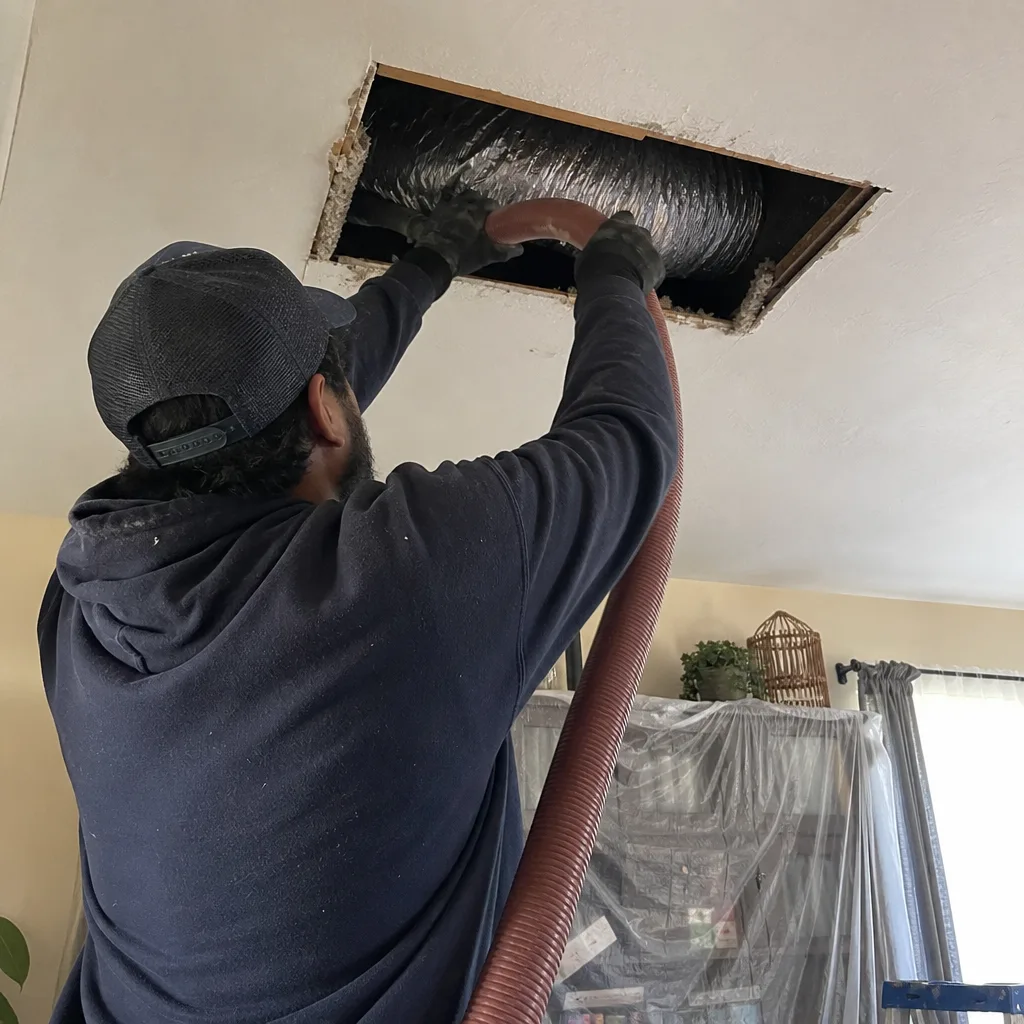 Before
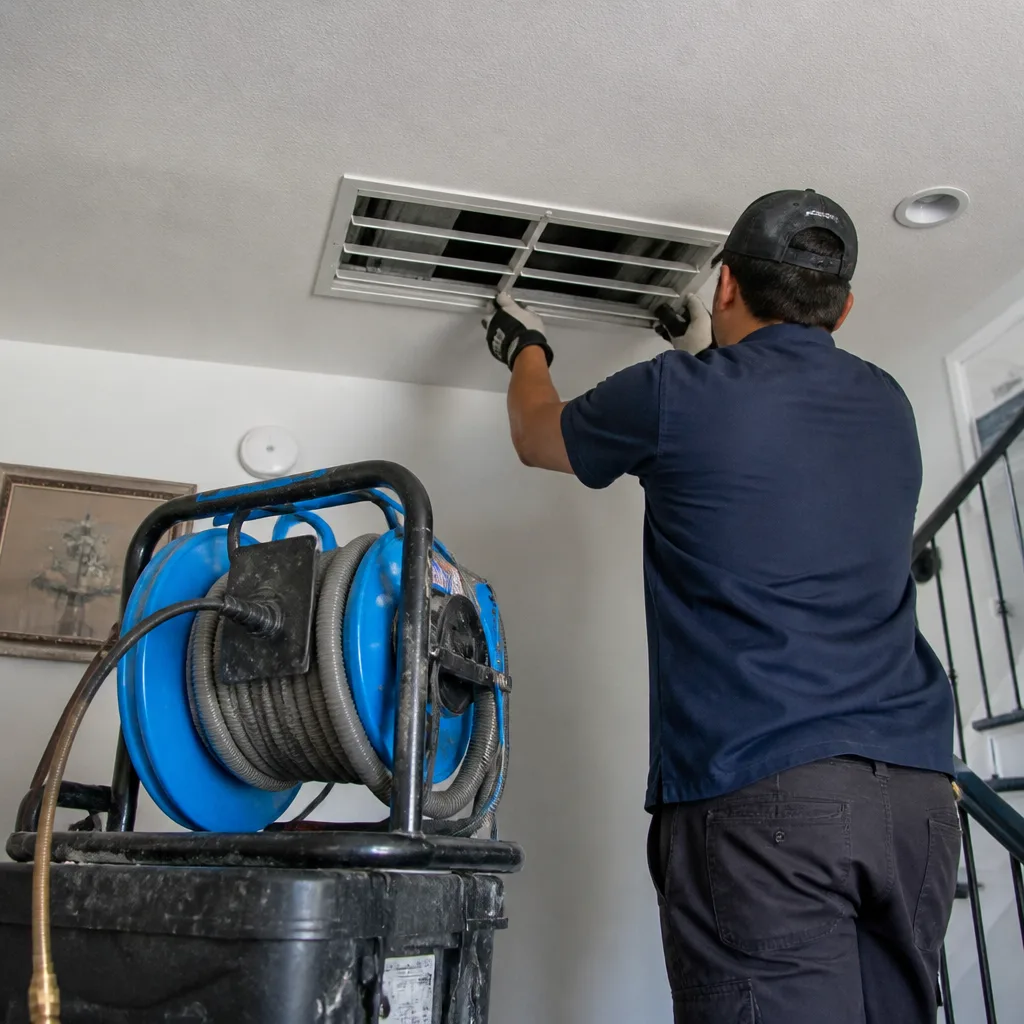 After
After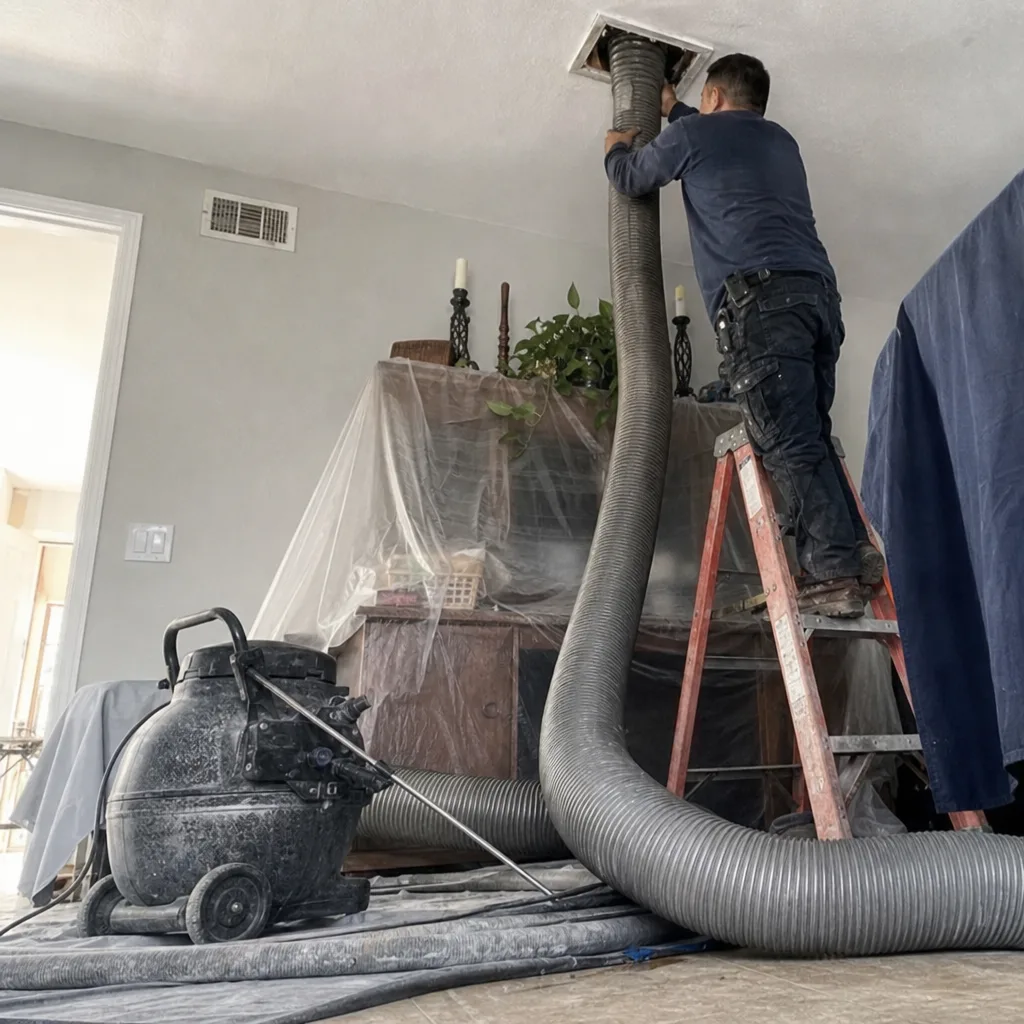 Before
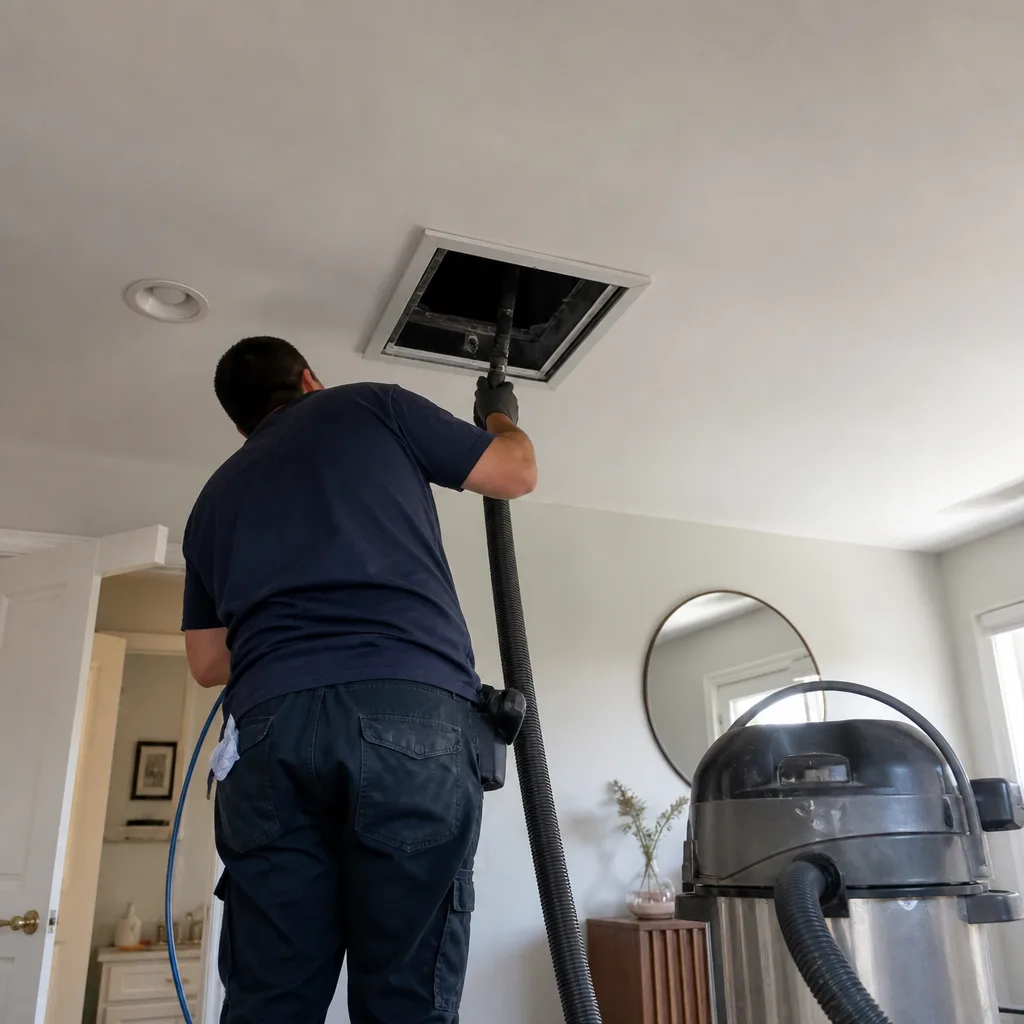 After
AfterDIY vs Professional Dryer Vent Cleaning: What’s Safe to Do Yourself
A $30 dryer vent cleaning kit from a hardware store works exactly as advertised on a 6-foot straight vent with a clean termination cap. It fails quietly and dangerously on a 20-foot run with two elbows, leaving compacted lint in the bends you can’t reach. This guide draws the line precisely: which setups you can safely clean yourself, which ones need professional equipment, and how to measure your specific run before making the call. We’ve cleaned thousands of vents across Los Angeles since 2005, and the decision almost always comes down to 10 feet and one question: how many turns does the air make before it exits your house?
Quick Answer
DIY dryer vent cleaning is safe only when three conditions are met simultaneously: rigid metal duct (not foil flex), under 10 feet of total run, and zero elbows or turns between the dryer and the exterior cap. For anything longer, bent, flexed, or routed through a wall, floor, or attic, Dryer Vent Cleaning services with rotary brush equipment are the genuinely safe option, and in a city like Los Angeles where many older homes route dryer vents through crawlspaces and shared walls, that second category covers more houses than you might expect.
Table of Contents
- The Three Conditions That Make DIY Dryer Vent Cleaning Safe
- How to Measure Your Dryer Vent Run Accurately
- Step-by-Step DIY Process for Qualifying Short Runs
- Why Rotary Brush Equipment Matters for Longer Runs
- The Insurance and Liability Angle of Dryer Vent Cleaning
- Dryer Vent Cleaning in Los Angeles: Climate and Construction Realities
- What DIY vs Professional Dryer Vent Cleaning Actually Costs
- Common Mistakes to Avoid
- When to Call a Professional
- Frequently Asked Questions
- The Bottom Line
The Three Conditions That Make DIY Dryer Vent Cleaning Safe
We’ll be direct: most dryer vent cleaning advice online skips the part where DIY stops being appropriate. The truth is narrower and more useful. You can safely clean your own dryer vent if, and only if, all three of these are true.
Condition 1: Rigid Metal Duct, Not Foil Flex
Rigid metal duct is smooth on the inside. Lint slides along it. A brush passes through it without snagging. Foil flex duct, the accordion-style silver tubing, is a different story. Its ridges trap lint at every fold, and a brush pushed from inside the house can tear the foil itself. Once the foil tears, you now have a vent that leaks moist air and lint into the wall cavity or crawlspace. In Los Angeles, we see foil flex in a lot of older homes, particularly in the San Fernando Valley and neighborhoods like West Adams and Highland Park, where dryer vents were retrofitted as afterthoughts rather than planned during construction. If your visible duct is foil flex, you don’t have a DIY-appropriate scenario, even if the run is short. The material itself disqualifies it.
Condition 2: Under 10 Feet of Total Run
Ten feet is the threshold, but not the kind of ten feet you’re picturing. The run is the distance from the dryer’s exhaust outlet to the termination cap on the exterior wall, measured along the actual path the air travels. A dryer that sits against the laundry room wall and vents directly through that wall has a run of maybe 12 to 18 inches. That’s ideal. A dryer in the center of the house venting through the floor and across a crawlspace to reach an exterior wall has a run of 15, 20, sometimes 30 feet. That’s not DIY territory. The length matters because lint doesn’t travel well. The dryer’s blower is only strong enough to push lint a certain distance before the airflow slows and particulates begin settling out of the air stream and onto the duct walls. Past about 10 feet, even with rigid metal and perfect conditions, that settling becomes measurable.
Condition 3: Zero Elbows or Turns
Every elbow is a lint trap. Airflow slows at the turn, and whatever lint the air was carrying tends to deposit right at the inside corner of the bend. A hand-pushed cleaning rod with a brush on the end can reach the first bend, but it can’t make the turn effectively. The brush head hits the corner, the rod flexes, and the brush either folds back on itself or scrapes along the outside of the curve without sweeping the inside where lint is actually packed. If your vent has even one elbow, what you can reach from the dryer end is not the same as what needs to be cleaned.
How to Measure Your Dryer Vent Run Accurately
Before deciding between DIY and professional cleaning, you need to know your actual run length. This isn’t guesswork. It’s a specific measurement with specific math.
- Find your dryer’s exhaust outlet. On most dryers, it’s on the back of the unit, near the bottom. Some models have a side outlet option that was used during installation.
- Trace the visible duct. Follow the duct from the dryer outlet as far as you can see. In a laundry room, this may be only a foot or two before it enters the wall, floor, or ceiling. That’s fine. Note where it disappears.
- Locate the termination cap. Go outside and find where the vent exits the house. In Los Angeles, typical locations are the side wall of the house, under the eaves, through the roof, or through a crawlspace foundation vent. The cap is a small plastic or metal hood with a flap or louvered cover.
- Estimate the path. The air travels from the dryer outlet to the termination cap. If the vent goes up through the wall and out the roof, the run includes vertical distance. If it drops through the floor and crosses a crawlspace, it includes that horizontal span. Use a tape measure for visible sections and reasonable estimates for concealed ones based on where walls sit relative to exterior walls.
- Apply the equivalent-length deduction for every elbow. Each 90-degree elbow adds the equivalent of 5 feet to the run. Each 45-degree elbow adds 2.5 feet. So a vent that physically measures 8 feet from dryer to cap, but has two 90-degree elbows, has an effective run of 18 feet. That’s a professional-only run, even though the tape measure says 8.
Here’s a quick reference table for what your measurement means:
- Under 1.5 feet, rigid metal, straight shot through wall: Easily a DIY scenario. Clean it yourself with a basic kit.
- 2 to 10 feet effective, rigid metal, no more than one 45-degree elbow: Borderline DIY. Many homeowners do this successfully, but careful brush technique matters.
- Over 10 feet effective, or any 90-degree elbow, or foil flex, or roof termination: This is professional territory. Let’s not sugarcoat it. The reach, the turns, and the material all demand equipment a hand kit can’t provide.
We’ve walked into homes in Los Angeles neighborhoods from Eagle Rock to Mar Vista where the homeowner spent an afternoon with a hand kit, felt satisfied because they pulled out “a lot of lint,” and then we removed another 4 pounds of compacted material from the second bend they couldn’t reach. For a full breakdown of timing and tasks, see our Dryer Vent Cleaning Maintenance Schedule: What to Do and When. The feeling of success from pulling out visible lint is real. It’s also incomplete.
Step-by-Step DIY Process for Qualifying Short Runs
If your vent meets all three conditions (rigid metal, under 10 feet effective, zero elbows), here’s the process done correctly. This takes 30 to 45 minutes for a first-timer.
Tools You’ll Need
- A dryer vent cleaning brush kit with flexible rods (available at any hardware store for $25 to $40)
- A cordless drill (for spinning the brush rod)
- A vacuum with a crevice tool or hose attachment
- A Phillips-head screwdriver
- A work light or headlamp
- Optional: a dryer vent seal gasket or foil tape for reconnecting (never use duct tape - it dries out and fails)
The Process
- Unplug the dryer. This is not optional. You’ll be reaching around the back of the unit and possibly pulling it away from the wall. Kill the power first.
- Close the gas valve if you have a gas dryer. The gas line runs behind the unit. If you’re moving the dryer, you need to know where the flexible gas connector is and not strain it. If you’re not comfortable with gas lines, this is a hard stop. Call a professional. A gas leak is a different order of danger than a lint clog.
- Pull the dryer away from the wall slowly. Watch the exhaust duct, the gas line (if present), and the power cord. Don’t yank. Go 6 inches at a time. If anything catches, stop and reposition.
- Disconnect the exhaust duct from the back of the dryer. Most are held on with a spring clamp or a zip tie. Squeeze the clamp, slide the duct off, and set it aside. If the duct is rigid metal pipe, pull it straight back off the dryer outlet. If it’s foil flex, stop here. Foil flex disqualifies the run from DIY as we covered earlier, and disconnecting and reattaching it often creates leaks or tears.
- Vacuum inside the dryer outlet first. Reach in about 4 to 6 inches with the crevice tool and remove loose lint. This prevents pushing debris deeper when you start the brush.
- Assemble the brush rod. Start with one rod section and the brush head. Insert the brush into the duct from inside the laundry room, rod spinning forward only. The brush should enter the duct with the bristles oriented to sweep outward as it rotates.
- Attach the drill to the rod. Set the drill to forward rotation only. Never reverse the drill while the brush is inside the duct. Reversing can unscrew the rod sections from each other. A rod section that detaches inside the duct becomes a new obstruction, and retrieving it usually means cutting into the wall or floor.
- Feed the brush slowly, one rod section at a time. With the drill spinning at low to medium speed, push the rod forward 6 to 8 inches, pull it back 2 inches, then advance again. This back-and-forth motion lets the bristles sweep loose lint backward toward you instead of packing it forward. Add a new rod section as each previous one nears the duct opening.
- Stop when you feel resistance. On a straight, rigid metal run, the first real resistance is usually the exterior termination cap. Don’t try to push the brush through the cap. You want it to reach the cap, not punch through it.
- Confirm from the exterior. Walk outside and check the termination cap. You should see the brush tip just behind the flaps. That’s confirmation the brush traveled the entire run. Turn off the drill and walk back inside. Pull the rods out slowly, one section at a time, spinning forward the entire way.
- Vacuum everything again. Lint that the brush dislodged will have collected at the dryer end. Vacuum the duct opening, the floor behind the dryer, and the exterior cap area.
- Reconnect the duct to the dryer. Slide it on fully, replace the clamp, and use foil tape at the joint if it wasn’t taped before. Move the dryer back into position gently. Verify the duct didn’t crush or kink behind the unit. Plug the dryer in and, if it’s gas, reopen the valve.
- Run the dryer on air-dry (no heat) for 10 minutes. This pulls any residual loose lint through and confirms there’s no restriction. Check the exterior cap while it’s running; you should feel a steady flow of air.
That’s the entire DIY process, done right. Notice what it doesn’t include: it doesn’t include reaching through a wall, it doesn’t include navigating an elbow, and it doesn’t include cleaning from a roof. Those are the lines. We hold those lines because they’re real.
Why Rotary Brush Equipment Matters for Longer Runs
The physics at work here aren’t complicated, but they matter. A dryer vent system relies on airflow. The dryer’s internal blower produces a specific air volume, measured in cubic feet per minute (CFM). As that air moves through the duct, it carries lint particles. The key detail is that the air isn’t doing the heavy lifting alone. Lint stays airborne when airflow is smooth and fast. When the duct gets long, or when the air makes a turn, the velocity drops. Velocity drops mean lint settles. Settling means deposits. Deposits mean the effective diameter of the duct shrinks. That slows air further. More lint settles. The cycle continues until the duct is a bottleneck.
The bends are the worst part. A 90-degree elbow doesn’t just slow the air; it changes its direction. Lint carried by the air keeps moving straight, hits the wall of the elbow, and packs against the inside corner. Over dozens of drying cycles, that packing becomes compaction. Hand-pushed flexible rods can reach the elbow, but the brush head at the end of a flexible rod has a specific problem: it wants to follow the curve’s outer wall. The inside corner, where compaction is worst, barely gets touched. If you’re troubleshooting poor drying performance, our Dryer Vent Cleaning Troubleshooting: Common Problems and How to Fix Them covers what to check. Pulling the rod back from the dryer end does a fraction more, but still doesn’t remove packed material.
Professional rotary brush equipment solves this differently. The systems we use at Morton’s Air Duct Cleaning home are built on a different principle: the brush is spun at high RPM by a motorized drive at the access point, and the rod itself is stiffer than a hand kit’s push rods. That combination means the brush tip reaches the inside-corner compaction zones in elbows because the spinning tip is actively abrading material while the rod provides enough rigidity that the brush doesn’t merely glide around the curve’s outer edge. For roof-terminated vents, a professional setup can access from the roof with a downward feed, which means gravity works with the process rather than against it. Equipment from manufacturers like Nikro and Rotobrush is designed specifically for this: long-span friction reduction, reverse-direction capability that doesn’t unthread the rod, and brush heads sized to the actual duct diameter rather than a universal 4-inch head that floats loose in a 4-inch duct.
The difference is measurable after the fact: on a long run, a hand kit removes surface lint. A rotary system removes packed lint that has been adhering to the duct walls through hundreds of heat cycles. In Dryer Vent Cleaning in Los Angeles homes with 15- to 25-foot runs, we routinely remove two to four pounds of material that no hand kit from a hardware store would have touched, because the kit physically cannot apply the right force at the right angle inside a bend.
The Insurance and Liability Angle of Dryer Vent Cleaning
Here’s a detail most DIY discussions skip entirely. Some homeowner’s insurance policies contain language that changes what happens after a lint fire incident. Lint fires are classified under the same umbrella as other preventable maintenance failures. When a fire occurs and the investigation attributes it to lint accumulation, the insurance company examines whether the homeowner took reasonable steps to prevent it. What counts as reasonable varies by carrier and by policy year.
We are not insurance professionals and we won’t pretend to be. But we have spoken with enough Los Angeles homeowners after incidents to know that the aftermath of a lint fire often includes a request from the adjuster for documentation. Did you clean the vent? When? Who performed it? A professional cleaning generates a receipt with a date, a description of the work, and usually photos. A DIY cleaning generates nothing except your own account. If your policy requires documented professional maintenance, or if your carrier’s claims process weighs documentation heavily, the decision between DIY and professional has a consequence beyond the cleaning itself.
The other liability angle is the damage potential of a bad DIY job. A disconnected rod section left inside a duct means a service call that now includes retrieval. A torn foil flex line means moist air being pushed into a wall cavity. In Los Angeles, where many older homes have wood-framed walls and crawlspaces, moist air inside a wall cavity is how you get mold and dry rot over the course of a few years without ever seeing it. The $30 saved on a hand kit becomes a four-figure repair. This isn’t scare language; it’s pattern recognition from 20 years of seeing what goes wrong quietly.
Dryer Vent Cleaning in Los Angeles: Climate and Construction Realities
Dryer vent problems don’t look the same everywhere. In a humid climate, lint clogs are often caught early because the moisture makes the lint swell and the symptoms appear faster. In a dry climate, the opposite happens. Los Angeles is dry. Lint in a vent stays dry, compacts rather than expands, and can build up quietly for years without producing the classic symptoms homeowners read about. That’s the Los Angeles paradox: the warning signs arrive later here than in Atlanta or Miami, but the conditions that cause compaction have been doing their work just as long.
Construction style compounds the issue. A huge number of Los Angeles homes were built before the 1990s, and many of those have laundry areas that were retrofitted into kitchens, hallways, or converted porches. The vent run rarely goes straight out the nearest exterior wall. Instead, it goes up through a ceiling, across an attic, or down through a floor into a crawlspace, where it travels 10, 15, or 20 feet to reach an exterior surface. Longer runs and more elbows are more common in older Los Angeles housing stock than in newer builds. Meanwhile, the typical new-build laundry room in a Los Angeles tract home often does vent directly through the wall behind the dryer. Same city, completely different clearance question depending on the age of the house.
There’s also the bird and rodent factor. Los Angeles has a large pigeon and starling population, and dryer vent caps that lack backdraft dampers become nesting sites during the spring. A termination cap that flaps open when the dryer runs but doesn’t seal when it’s off is a standing invitation. Rodents, particularly roof rats, will chew through plastic flappers. We’ve cleaned vents in neighborhoods like Silver Lake and Echo Park where the clog was not lint at all, but shredded nesting material and droppings. That’s an entirely different problem than a standard lint accumulation, and it’s not one a hand brush kit is designed to address.
Finally, the building code. Los Angeles follows the California Mechanical Code, which specifies that dryer exhaust ducts be smooth interior, constructed of metal, have a maximum length of 35 feet from the dryer location to the termination point, and that each 90-degree elbow reduces the allowable length by 5 feet. A 35-foot maximum doesn’t mean a 35-foot DIY job. It means 35 feet is the legal ceiling for the run to exist at all, and anything over that is non-compliant even before the lint starts to collect. Older homes are grandfathered out of many code requirements, but a non-compliant vent you already have is not automatically safe just because it was installed 40 years ago.
What DIY vs Professional Dryer Vent Cleaning Actually Costs
Let’s put numbers on the table. A hardware store dryer vent cleaning brush kit costs between $25 and $45. The drill, if you don’t already own one, is another $40 to $80 for a basic cordless model. You already own a vacuum, presumably. Total out-of-pocket for a real DIY job on a qualifying run: roughly $30, assuming the drill is already in the garage.
Professional dryer vent cleaning in the Los Angeles market typically runs between $110 and $220 for a standard single-family home, depending on access, run length, and whether it’s a wall, crawlspace, or roof termination. Multifamily buildings, laundry closets that require disassembly, or runs that exceed 20 feet land on the upper end or slightly beyond. That’s not a figure pulled from a national chart; it’s the range we’ve observed across Los Angeles service calls for the better part of two decades.
The honest comparison isn’t $30 versus $175. It’s $30 versus $175, but only on runs where the $30 kit actually does the job. On runs over 10 feet with elbows, the $30 kit does perhaps 40% of the job, and the remaining 60% compounds until a professional arrives or a fire does. That’s not a value proposition; that’s a deferred invoice. We tell homeowners to think of it this way: measure your run first. If you’re under 10 feet effective with rigid metal and no bends, buy the kit. If you’re over, put the $30 toward a professional cleaning and get the full run done with equipment that can actually reach it.
Some homeowners ask about the every-vent-priced model they’ve seen advertised by other companies. We’d be dishonest if we didn’t address it. The bait-and-switch model in this industry isn’t a myth: a low per-vent teaser price that becomes a much larger invoice once the crew arrives and expands the job. That’s not how we operate at Morton’s, and it’s not how we’d recommend anyone shop. One flat price per system, agreed before work starts, not per vent, not after add-ons. If you’re comparing quotes, ask whether the price covers the entire dryer vent run from the dryer outlet to the termination cap. If the answer is “per vent” or “depends,” keep looking.
For what it’s worth, Air Duct Cleaning in Los Angeles costs are separate from dryer vent cleaning costs. They’re different services on different systems, and honesty about that distinction saves everyone time.
Common Mistakes to Avoid
- Assuming all dryer vents are the same. A 1-foot straight shot and a 25-foot bend-heavy run are not equivalent cleaning tasks. The hardware store kit doesn’t know the difference, but the lint does.
- Using the brush in reverse rotation. Reversing the drill inside the duct unscrews the rod sections from each other. A detached section inside the wall or crawlspace is a new obstruction that usually requires cutting into the building to retrieve.
- Trying to clean foil flex duct with a brush. The ridges catch lint, and the brush catches the foil. You tear it, and now the vent leaks into the wall. Foil flex is a replacement situation, not a cleaning situation.
- Measuring only the visible duct length. The hidden section inside the wall, floor, or attic is part of the run. A 4-foot visible duct that enters the wall and travels another 12 feet to the exterior is a 16-foot run, not a 4-foot run.
- Neglecting the termination cap. The exterior cap has its own lint accumulation around the flaps and inside the hood. Cleaning the duct and skipping the cap leaves a partial restriction that re-compacts lint faster than you’d expect.
- Pulling the dryer out without checking the gas line. A gas dryer’s flexible connector is not designed to be stretched. Yanking the dryer forward can crack or loosen the connection. In a city like Los Angeles with thousands of older gas dryers still in service, this is a real and avoidable hazard.
- Calling it “done” because some lint came out. Surface lint comes out easily. The compacted material in bends doesn’t. If you can’t see the full run, you can’t know the bend is clear, and you can’t declare victory on a partial clean.
When to Call a Professional
The professional call becomes necessary in scenarios that are specific and recognizable: your effective run is over 10 feet, your run includes any 90-degree elbow, your duct is foil flex instead of rigid metal, your vent terminates through the roof, or you haven’t cleaned the vent in more than two years and you don’t know what’s accumulated. If your dryer takes longer than one full cycle to dry a standard load, that’s a restriction symptom, not a quirk. If you find the outside cap not opening when the dryer runs, or if the laundry room smells musty when the machine is on, those are signs that justify professional attention. Morton’s Air Duct Cleaning offers free estimates in Los Angeles, call (323) 918-4345. A live person answers, and the price is written before any work starts.
Frequently Asked Questions
Professional dryer vent cleaning in Los Angeles typically costs between $110 and $220 for a standard single-family home, with the price varying based on access type, run length, and whether the termination is at a wall, crawlspace, or roof. Multifamily units and longer runs can exceed that range. Morton’s Air Duct Cleaning provides a written price before any work starts so you know the exact number before the crew begins. Call (323) 918-4345 for a free estimate.
You can clean your own dryer vent safely only when three conditions are all met: rigid metal duct (not foil flex), under 10 feet of effective run length (including the 5-foot equivalent penalty for every 90-degree elbow), and zero elbows or turns between the dryer and the exterior cap. If your setup qualifies, the DIY process works. If any condition fails, the hand brush can’t reach the problem areas and professional equipment is warranted.
A dryer vent in Los Angeles should be cleaned every 12 to 18 months for a household that runs three or more loads per week, and every 24 months at minimum for lighter use. The dry Los Angeles climate means lint compacts rather than expands from humidity, so buildup can be present before symptoms become obvious. Homes with longer vent runs or roof terminations trend toward the shorter end of the interval.
A dryer taking two cycles to dry clothes is almost always a restriction in the vent system, either a lint clog reducing airflow or a crushed duct section behind the unit. The restriction prevents moist air from exiting, so the dryer’s sensors read moisture longer and the cycle extends. If the vent has never been cleaned and the run involves elbows or length, the restriction is likely compacted lint that requires professional extraction. Call (323) 918-4345 for an assessment; we’ll give you a written price before starting.
Foil flex duct is not recommended for dryer vents and is disqualified as a DIY-appropriate cleaning scenario because its accordion ridges trap lint at every fold and the material tears easily when brushed. If your dryer vent includes foil flex, the right move is replacement with rigid metal duct, which is why the California Mechanical Code requires smooth interior metal duct. A professional can assess whether replacement is needed and handle the labor without damaging adjacent finishes.
Dryer vent cleaning addresses the dedicated exhaust line that runs from your dryer to the exterior, removing lint, debris, and obstructions from that single run. Air duct cleaning addresses the entire HVAC distribution system, including supply and return ducts, registers, and the air handler. They are separate services with separate equipment needs and separate pricing, and a thorough home maintenance plan includes both on different schedules.
You can confirm the cleaning worked by checking airflow at the exterior cap while the dryer runs. With a clean vent, the air exits the cap with visible force, the flap opens fully during operation, and a standard load dries within a single cycle. At Morton’s Air Duct Cleaning, every job includes a photo of the clean-up before the crew leaves, so you have visual documentation of both the work and the condition of the area afterward.
The Bottom Line
DIY dryer vent cleaning is a legitimate option, but only for a narrow set of qualifying runs: rigid metal duct, under 10 feet of effective length, and no bends between dryer and cap. For everyone else, and for most older Los Angeles homes, the professional route isn’t an upsell; it’s the only way to actually reach and clear the full run. For more guides & resources, explore our blog. Measure your run honestly, including elbow penalties. If you qualify, the $30 kit is a real solution. If you don’t, the kit leaves the dangerous work undone while making it feel done. That’s the whole distinction. Whether you clean it yourself or call us at (323) 918-4345, the goal is the same: a dryer vent that moves air like it was designed to, with a home left exactly as we found it.
Written by Paul Adeyemi, Owner at Morton’s Air Duct Cleaning, serving Los Angeles since 2005.